One of the first things I do when looking at a Microsoft 365 environment is check what security is actually doing. Not what has been configured. Not what the Secure Score says. Not what someone remembers setting up six months ago. I want to see what is really happening right now.
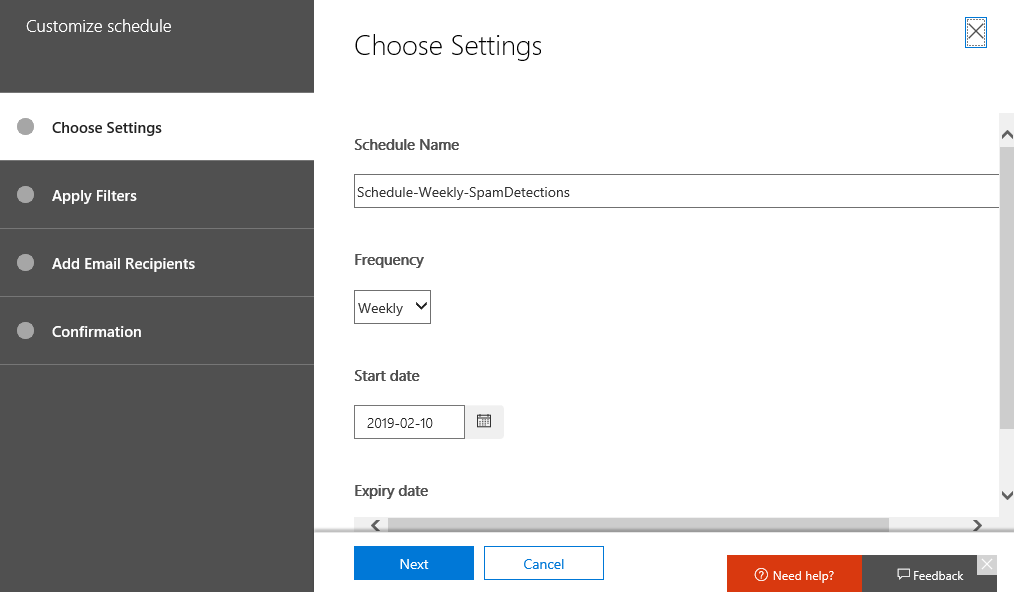
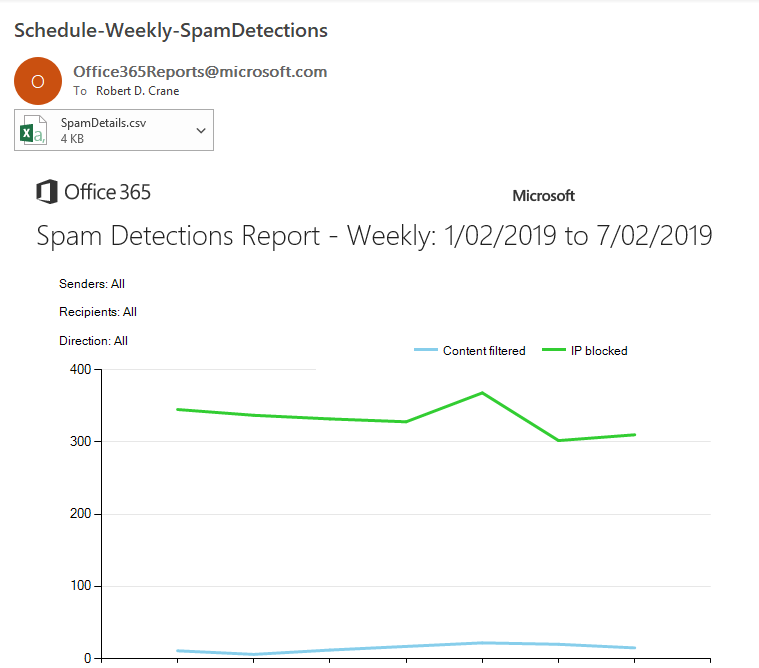
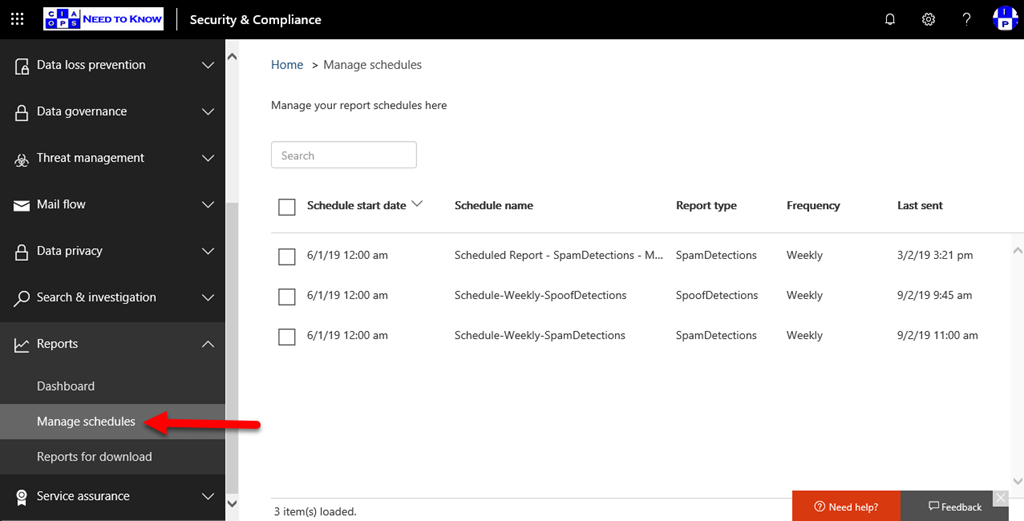
That’s why I’m a big fan of the reporting options built into Microsoft Defender for Office 365.
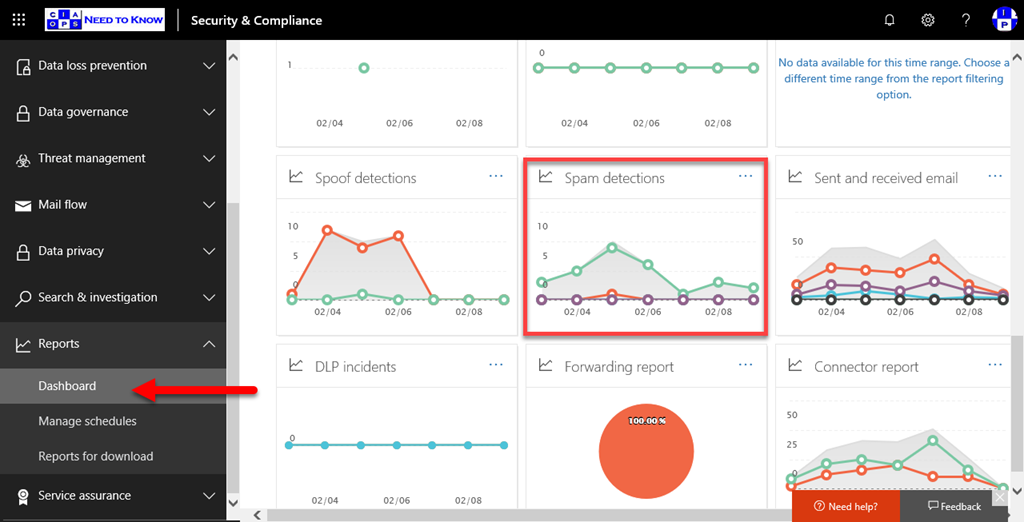
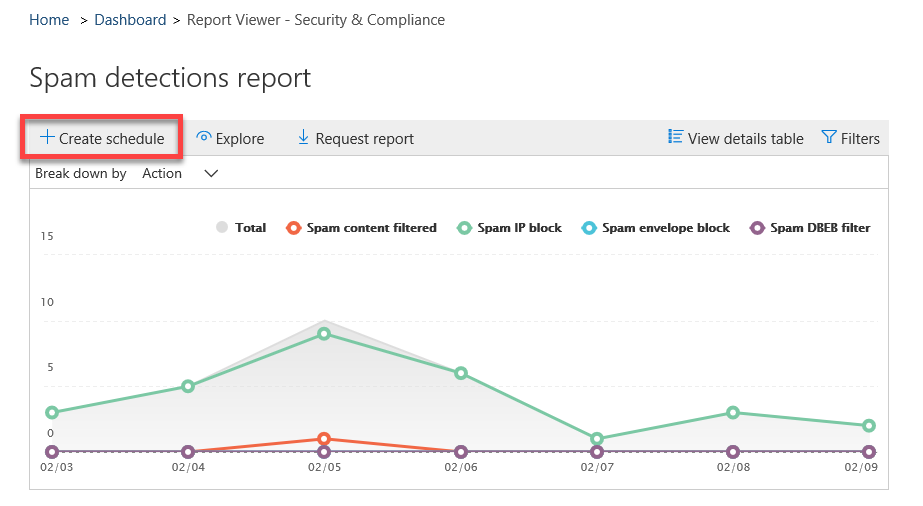
Too many organisations spend time configuring Safe Links, Safe Attachments, anti-phishing policies and quarantine settings, then never look back. The assumption is that because the settings exist, they must be working. In reality, security is something you need to measure continuously, not configure once and forget. The Microsoft documentation highlights a range of Defender for Office 365 reports that provide visibility into how email protection is performing and what threats are being stopped before they reach users. View Defender for Office 365 reports [learn.microsoft.com]
Security Is About Evidence
I regularly see organisations investing in security tools but struggling to answer simple questions:
- How much phishing is being blocked?
- Are malicious attachments being detected?
- How quickly is email being processed?
- Are threats still arriving in user mailboxes?
The Defender reports help answer those questions.
The real value isn’t the graphs and dashboards. The value comes from having evidence. Security conversations change dramatically when you can point to data rather than assumptions.
Imagine sitting down with management and showing that thousands of malicious messages were blocked last month before users ever saw them. That’s a much stronger discussion than simply saying, “Our email security is working.”
It’s Not Just About Blocking Threats
One report that often catches my attention is mail latency. Security processing adds time to message delivery, particularly when attachments need deeper inspection. The report helps you understand whether protection measures are impacting mail flow. Mail latency report [learn.microsoft.com]
Another area worth reviewing is post-delivery activity. No security platform catches everything immediately. Sometimes a threat is identified after a message has already arrived in a mailbox. Defender’s automated remediation features can remove those messages automatically, but unless you’re reviewing reports, you may never know how often that’s happening. Post-delivery activities report [learn.microsoft.com]
This is an important lesson for any organisation using Microsoft 365. Security isn’t only about prevention. It’s also about detection and response.
Why This Matters More in the Age of Copilot
As organisations adopt Microsoft 365 Copilot, the quality and security of their Microsoft 365 environment becomes even more important.
Copilot works across Outlook, Teams, SharePoint and OneDrive. The more information available inside Microsoft 365, the more valuable Copilot becomes. However, that also means security teams need confidence that threats are being managed effectively.
I’ve seen organisations focus heavily on Copilot deployment while overlooking the visibility tools already sitting inside Microsoft Defender. Before chasing the next AI capability, make sure you understand what is happening inside your environment today.
A practical example might be reviewing a phishing campaign shown in Defender reports and then using Microsoft 365 Copilot in Excel to analyse trends over time or prepare management summaries from the collected data. That’s a real-world workflow that combines security visibility with AI assistance.
Stop Flying Blind
One of the biggest mistakes I see in small and medium businesses is treating security as a set-and-forget exercise. Security policies get deployed, everyone feels confident, and then nobody checks whether the controls are actually delivering the expected outcome.
The Defender for Office 365 reports provide the missing feedback loop.
If you’re already paying for Microsoft Defender for Office 365 through licences such as Microsoft 365 Business Premium, E5 or Defender for Office 365 plans, these reports are often sitting there waiting to be used. Defender for Office 365 reports [learn.microsoft.com]
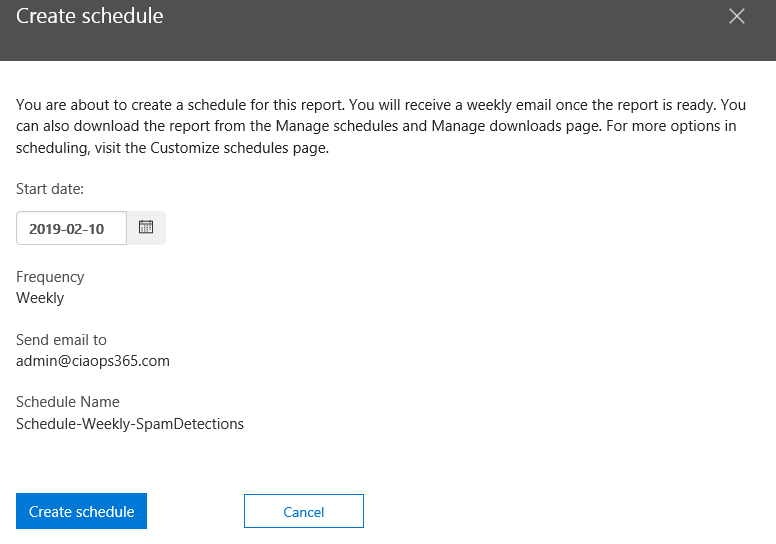
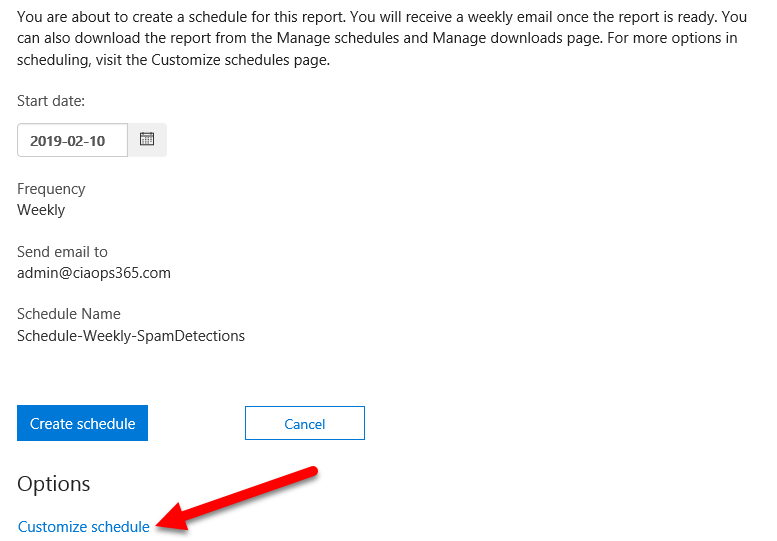
My recommendation is simple. Schedule time every month to review the data. Look at what is being blocked, what is slipping through, and how protection is performing over time. Trends are often more important than individual incidents.
Security isn’t about having controls. It’s about knowing whether those controls are working.
And in my experience, the organisations that regularly review their security reports are almost always in a stronger position than those that don’t.