Introduction and Overview
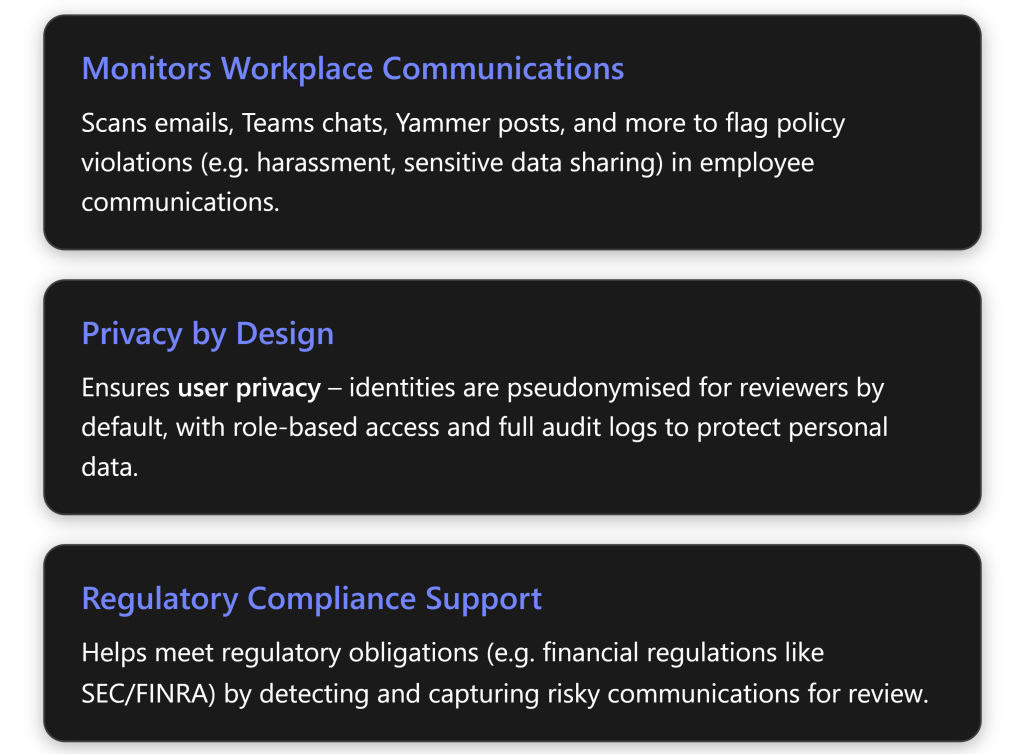
Microsoft Purview Communication Compliance is an insider risk and compliance solution that helps organisations detect and remediate problematic communications within Microsoft 365[1]. It evaluates text and images in employee communications across email (Exchange Online), chat (Microsoft Teams), communities (Viva Engage/Yammer), and even supported third-party platforms (like WhatsApp or others via connectors)[2]. The goal is to foster a safe, compliant workplace by automatically flagging messages that violate internal policies or regulatory requirements – for example, harassing or threatening language, the sharing of sensitive confidential information, or communications that suggest regulatory breaches[1].
Key features: Communication Compliance uses a combination of machine learning classifiers and keyword matching to identify potential issues in messages[2]. It comes with built-in policy templates (for common scenarios like harassment, sensitive data leaks, etc.) and can also be customised to an organisation’s needs. Notably, the solution is “privacy by design” – user identities are hidden (pseudonymised) from compliance reviewers by default, and strict role-based access controls ensure only authorised investigators can review flagged content[1][3]. All reviewer actions (like reading a message or removing it) are logged in audit trails for accountability[1]. If a policy violation is confirmed, authorized reviewers can take remediation actions directly, such as removing an inappropriate message from Teams or notifying the sender’s manager about the misconduct[2]. Overall, the tool helps SMBs enforce their code of conduct and prevent small issues from growing into serious legal or compliance problems[3].
In the sections below, we’ll cover how to set up Communication Compliance in a Microsoft 365 environment step by step, outline common policies and effective usage tips (with examples like detecting harassment and data leaks), compare licensing options and costs in AUD for SMBs, and provide best practices for configuring policies and managing the review process.
Step-by-Step Setup in an SMB Environment
Setting up Communication Compliance in Microsoft 365 involves preparing your environment with the right licenses and permissions, then creating policies in the Purview compliance portal. The following steps assume you are an IT administrator or compliance officer for an SMB using Microsoft 365:
")
Tip: Before deploying company-wide, consider testing your policy on a small group. For example, create a pilot policy for the IT department to ensure the settings catch the intended content without overwhelming reviewers with false positives. You can refine dictionaries or severity thresholds, then expand the policy’s scope to all users.
By the end of this setup, you will have Communication Compliance actively monitoring the chosen communications in your SMB tenant. Next, we’ll look at how to use and manage these policies effectively on an ongoing basis.
Using Communication Compliance Effectively
Once policies are in place, the day-to-day value comes from how well the organisation manages the alerts and acts on them. Here’s how to use Communication Compliance in practice, along with common policy examples and use cases relevant to SMBs:
Alert Review and Remediation Workflow
When a message (or series of messages) triggers a Communication Compliance policy, it generates an alert in the Purview Compliance portal. Reviewers (the persons assigned in the policy) will be able to see these alerts in the Communication Compliance dashboard. Key aspects of the review process:
Alert details: An alert will show the policy that was triggered, the number of message hits, the severity, and other metadata. Reviewers can drill into the alert to see the actual content that was flagged. User identities in the content are masked by default (you might see usernames as “User1,” “User2,” etc.) to reduce bias[3]. A reviewer with sufficient privilege can de-pseudonymise the usernames if needed (typically after determining the issue is real and needs escalation).
Reviewing content: The reviewer reads the flagged communication in its context. For example, if an alert flagged a Teams chat message with a certain offensive phrase, the system will show a snippet of that chat conversation. This helps the reviewer understand the context (was it truly harmful or just joking banter, etc.). The system may also indicate which condition was matched – e.g. it might tag that a message matched the “Harassing language” classifier or contained a credit card number, etc., to help the reviewer understand why it was flagged.
Decision and action: The reviewer must then decide what to do:
- If the content is a false positive or benign, they can mark the alert as “Resolved – no issues”. (They would typically add a note, e.g. “Flagged phrase was used out of context, not a policy violation.”)
- If the content violates policy, the reviewer takes appropriate action. Communication Compliance provides built-in remediation actions:
- Remove message: For Microsoft Teams chats or Yammer posts, the reviewer can delete the offending message from the user chat/channel directly from the interface[2]. (The user is notified that their message was removed due to a policy).
- Notify user or manager: The reviewer can send a notification email to the person who sent the message, and/or that person’s manager, describing that the message was found to violate policy and what next steps are (this notice can be a gentle warning for first-time minor offenses, for example).
- Escalate: If the issue is serious, the reviewer might escalate the case – for example, forwarding details to HR or legal department. If your organisation also uses Insider Risk Management, the reviewer can flag the user or incident for further investigation under that system (Communication Compliance can integrate with Insider Risk Management to share signals)[4].
- Resolve with other remediation: Sometimes the action is outside the tool – e.g., a coaching conversation with the employee. The reviewer can still mark the alert as “Resolved” and note that HR will follow up offline.
- Remove message: For Microsoft Teams chats or Yammer posts, the reviewer can delete the offending message from the user chat/channel directly from the interface[2]. (The user is notified that their message was removed due to a policy).
- Case management: Communication Compliance allows the reviewer to group related items into a case if needed (especially in regulated scenarios where a formal case file is needed, similar to eDiscovery cases). For SMB use, you might not need formal cases for each alert, but the option is there to bundle multiple related messages or continue tracking an ongoing investigation.
- If the content is a false positive or benign, they can mark the alert as “Resolved – no issues”. (They would typically add a note, e.g. “Flagged phrase was used out of context, not a policy violation.”)
Continuous Improvement: As reviewers resolve alerts, they should flag if a particular policy is generating too many false positives or if users find creative ways to circumvent detection. For example, if employees start using code words to harass each other (to evade known keywords), the compliance team might need to add those to keyword dictionaries. Conversely, if harmless messages are frequently flagged, adjust the policy to be less sensitive (or refine the keyword list).
Common Policy Scenarios and Examples
Communication Compliance can address a variety of communication risks. Here are some common policies – likely relevant to SMBs – and how they work in practice:
")
Other scenarios: Microsoft also provides a “Conflict of interest” policy template aimed at preventing communication between two groups that should stay separate (for example, to enforce information barriers between a sales team and a procurement team during a tender). This template typically flags communications if members of Group A and Group B are in the same thread[4]. However, note that for strict separation, Information Barriers (a separate feature) can be configured to technically block such communications outright[5]. Communication Compliance in this case acts as a backstop or monitoring tool in case some channels aren’t covered by information barriers.
Additionally, a new capability in Teams and Viva Engage allows users to report messages they find inappropriate. When enabled, users can click “Report inappropriate content” on a Teams message, which submits it to Communication Compliance for review[4]. These user-reported incidents are collected under a special policy in Communication Compliance (with AI classifiers helping to categorise the reported content)[4]. This feature can greatly augment automated policies – especially in SMBs where the volume of messages is lower, empowering employees to flag issues helps the compliance team catch things that automated policies might miss (like subtle context or new slang). We recommend training your staff on how to use the Teams “report” feature and fostering a culture where people are comfortable reporting misconduct.
Ongoing Management
To use Communication Compliance effectively, treat it as an ongoing program, not a “set and forget” tool. Some tips for SMBs:
Regularly check the Compliance dashboard – Ensure assigned reviewers have a schedule (daily or weekly, depending on alert volume) to review new alerts promptly. Delayed responses diminish the value of catching issues early.
Leverage the reports – The Purview Compliance portal provides overview dashboards and detailed reports of policy matches over time[1]. These can highlight trends, like a spike in attempts to send sensitive data, or recurring harassment issues in a particular team, etc. Use these insights to inform management – e.g., maybe the company needs a reminder training on harassment if there are many instances being flagged.
Adjust policies as needed – As your business grows or regulations change, you may need to update who is covered by policies or add new ones. For instance, if your SMB enters a new industry or starts handling health data, you might introduce a HIPAA-related communication compliance policy. Microsoft continually updates classifiers (and adds new sensitive info types or AI models), so keep an eye on the Communication Compliance release notes for improvements that you can take advantage of.
Next, we will look at the licensing requirements for Communication Compliance and how SMBs can obtain these capabilities in a cost-effective way, including a comparison of Microsoft 365 plans.
Licensing and Pricing (AUD) for SMBs
Because Communication Compliance is an advanced feature, it’s only included in certain Microsoft 365 plans or add-ons. SMBs have a few options to license it. Below is a comparison of plans relevant to small and mid-sized businesses, their capabilities with respect to Purview compliance, and approximate pricing in Australian dollars (AUD):
Available Licensing Options:
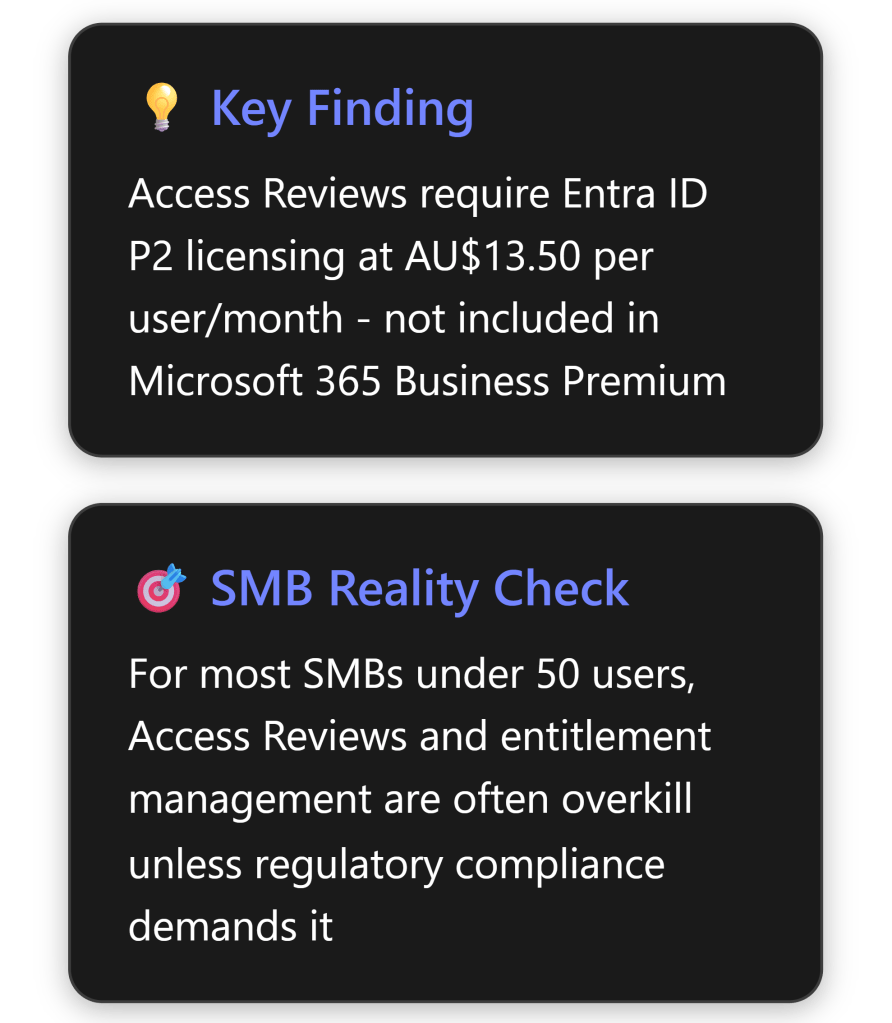
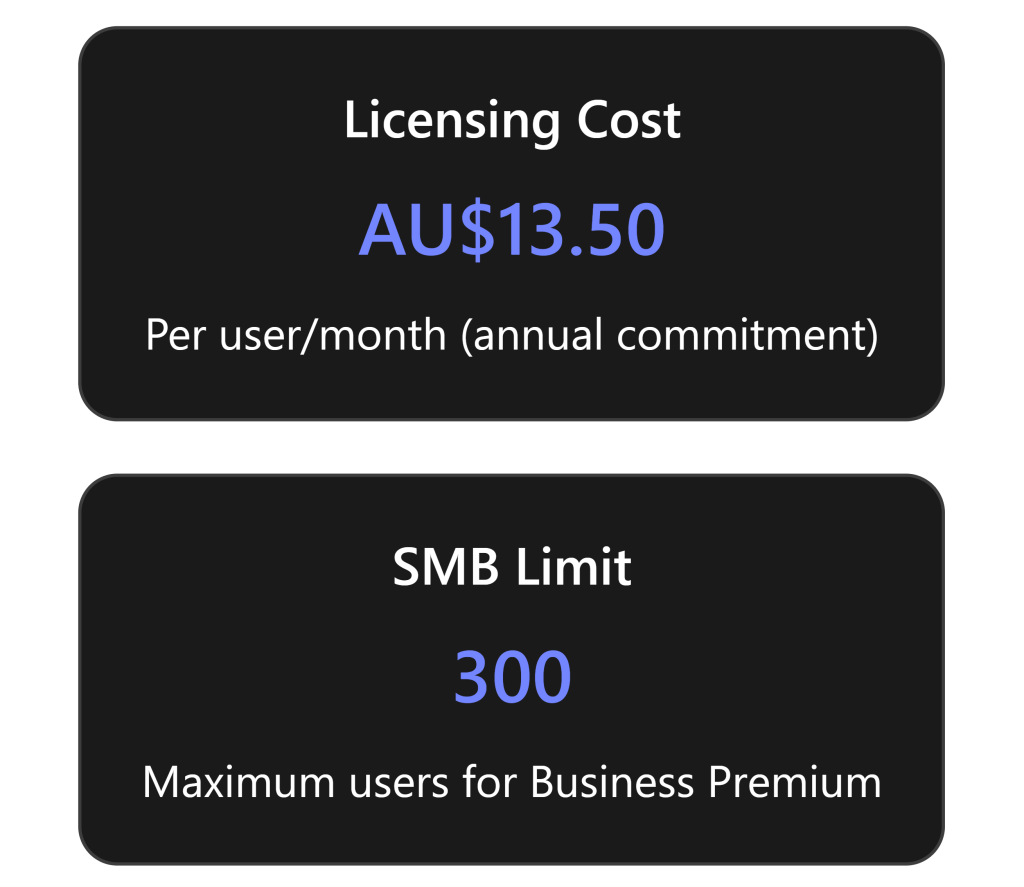
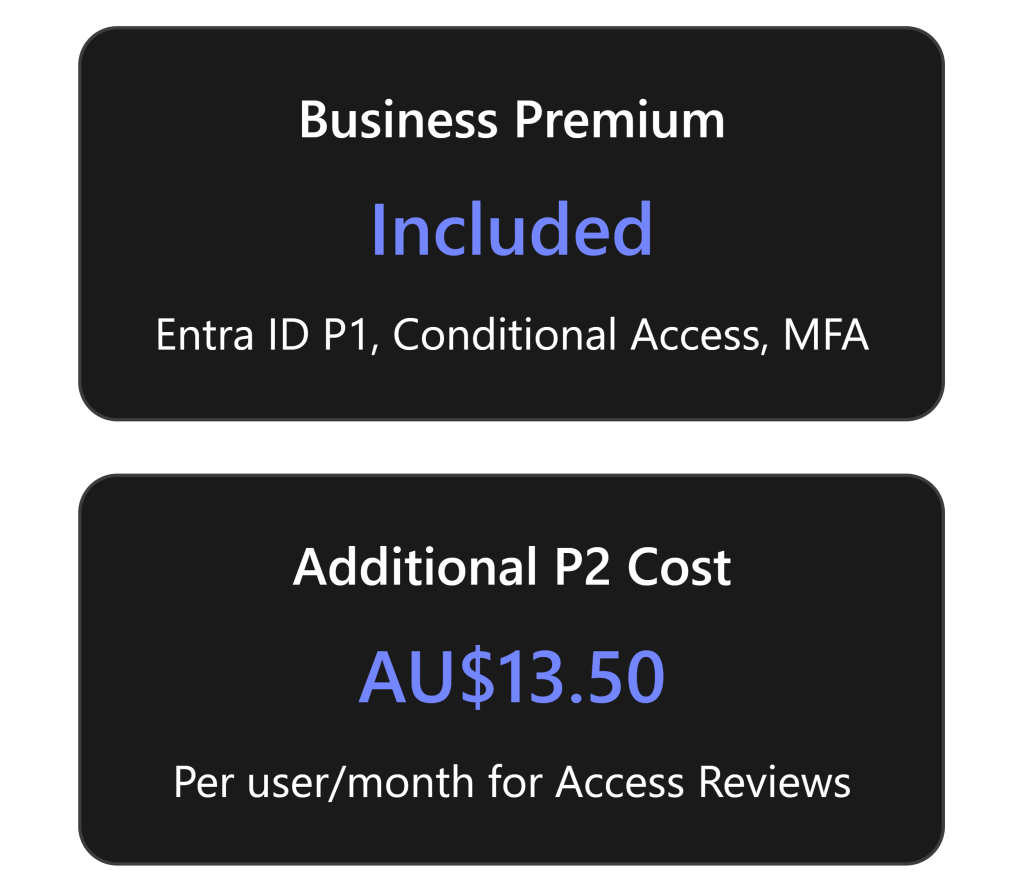
- Microsoft 365 Business Premium – Aimed at SMBs (up to 300 users). This plan includes all Office apps and many security features, and some baseline compliance features (like Office 365 DLP, information protection labels, and basic eDiscovery)[6]. However, it does not include Microsoft Purview Communication Compliance or other advanced Purview solutions by default[6]. Business Premium users can add certain functionality via add-ons (see below).
- Microsoft 365 E3 – An enterprise plan (no user limit) that includes Office apps and standard enterprise security/compliance features. Like Business Premium, E3 on its own does not include Communication Compliance – it provides core compliance (DLP, retention, eDiscovery Standard, etc.) but not the Insider Risk solutions[6]. To get Communication Compliance, an E3 customer would need to purchase an add-on such as “E5 Compliance” or “Insider Risk Management” for the relevant users.
- Microsoft 365 E5 – The top-tier Microsoft 365 plan. E5 includes Communication Compliance natively, along with the full suite of Purview compliance features (Insider Risk Management, Advanced eDiscovery, Audit (Premium), Records Management, etc.) and all advanced security features. Essentially, E5 gives you everything – but at a higher cost. Many larger organisations choose E5 for its breadth. SMBs may consider it if they have high compliance requirements and budget.
- Purview Add-ons – Microsoft offers add-on licenses that extend the capabilities of lower-tier plans without requiring a full upgrade to E5. Key add-ons:
- Microsoft 365 E5 Compliance – This add-on includes the entire set of E5 compliance features (Information Protection & Governance, Communication Compliance/Insider Risk, eDiscovery & Audit) for a user. It can be added to Business Premium, E3, or even Office 365 plans. If an SMB only needs the compliance features (and not the E5 security features), this is a cost-effective route. Pricing: roughly A$18 per user/month (≈A$216 per user/year) for this add-on in Australia[5].
- Microsoft 365 E5 Insider Risk Management – a more focused (and slightly cheaper) add-on that specifically includes Insider Risk Management and Communication Compliance features[7][7]. This could be an option if you don’t need the full compliance suite. (For example, you might pair this with Business Premium to get just the insider risk solutions).
- Microsoft 365 E5 Information Protection & Governance – includes labeling, encryption, DLP, records management (but not Communication Compliance, since that falls under the Insider Risk category). This is more for advanced data protection without the comm surveillance piece.
- Microsoft 365 E5 Compliance – This add-on includes the entire set of E5 compliance features (Information Protection & Governance, Communication Compliance/Insider Risk, eDiscovery & Audit) for a user. It can be added to Business Premium, E3, or even Office 365 plans. If an SMB only needs the compliance features (and not the E5 security features), this is a cost-effective route. Pricing: roughly A$18 per user/month (≈A$216 per user/year) for this add-on in Australia[5].
It’s important to note that any user whose communications are being monitored, or who is performing reviews, must be licensed for the feature[8]. In practice, this means if you apply a Communication Compliance policy to all employees, all those employees need a license that covers it (either via E5 or an add-on). If only a subset of users are monitored (say, just the finance department), only those users need the advanced compliance license. Reviewers also need a license. You don’t have to license users who are completely outside the scope of any Communication Compliance policies.
Below is a summary table comparing the plans:
| Plan / Add-on | Purview Compliance Features | Includes Comm. Compliance? | Price (AUD) |
|---|---|---|---|
| Microsoft 365 Business Premium | – Office apps, EMS security (Defender for Business, etc.) – Basic compliance: data classification, DLP (Office 365), retention, eDiscovery (standard). | No. Lacks advanced Purview solutions like Communication Compliance, Insider Risk, Advanced Audit. | ~A$36.19 per user/month |
| Microsoft 365 E3 | – Office apps, EMS (Azure AD P1, etc.) – Compliance: Includes all Business Premium features plus mail archiving, legal hold, SharePoint and Teams audit/search, etc. – Lacks advanced AI-driven compliance tools. | No. (Requires add-on for Comm. Compliance). | ~A$58.63 per user/month |
| Microsoft 365 E5 | – All E3 features plus: Advanced Compliance: Communication Compliance, Insider Risk Mgmt, Advanced eDiscovery, Audit (1yr retention), Records Mgmt. Advanced Security: Defender for Endpoint, Defender for O365 P2, Azure AD P2, etc. Phone System, Audio Conferencing. | Yes. Fully included (Communication Compliance and all Purview features are active). | ~A$90.09 per user/month |
| M365 E5 Compliance Add-on | – Adds all E5 Compliance suite to lower plans: Communication Compliance, Insider Risk Advanced eDiscovery, Audit (Premium) Records management, Information Protection (auto-labeling, etc.) (Does not include E5 security features) | Yes. (When combined with, e.g., E3 or Biz Premium, it lights up Comm. Compliance features). | ~A$18.00 per user/month |
1Approximate per-user monthly price, based on Australian commercial pricing (annual commitment). Actual prices may vary slightly by provider; e.g., one Australian partner lists Business Premium at A$36.19 and E5 at A$90.09[2]. These may be ex-GST.\ 2A$216 per user/year, as listed for an annual license[5].
In summary, SMBs with Business Premium can access Communication Compliance by either upgrading specific users to an E5 plan or more economically by adding the E5 Compliance add-on for those users. For instance, a 100-person company might license 5 HR and IT staff with E5 Compliance add-ons (so they can monitor all communications) and the rest remain on Business Premium. SMBs with E3 (perhaps those who’ve outgrown the 300 user cap of Business Premium) can do similarly – purchase E5 Compliance add-ons for the users that need these capabilities, or consider full E5 for broadest coverage.
If you are unsure, Microsoft does offer a 90-day trial of Purview Compliance features for up to 25 users[1]. This is a great way for an SMB to pilot Communication Compliance (and other features like Insider Risk Management) to assess its value before committing to the additional licensing cost.
Best Practices for Configuration and Review Workflows
Implementing Communication Compliance effectively requires more than just technology – it involves process and policy decisions. Here are some best practices for SMBs to get the most value while respecting employee trust:
Align Policies with Company Culture and Risk: Tailor your communication compliance policies to the actual risks and culture of your organisation. For example, if your company has a zero-tolerance stance on harassment, ensure your policies for offensive language are comprehensive. If you handle sensitive client data, focus on data leakage policies. Avoid overly broad surveillance that isn’t warranted – monitor what matters most to your business’s compliance and ethical requirements.
Be Transparent with Employees: It’s generally advisable (and legally prudent in many jurisdictions, including Australia) to have an acceptable use policy that notifies employees that their communications may be monitored for compliance purposes. Transparency helps maintain trust. Emphasise that these tools exist to protect the company and employees from risks (like a hostile work environment or inadvertent data breaches), not to snoop on personal matters. In an Australian context, employee privacy laws allow monitoring with proper purpose and employee notification, so make sure to document this in your employee handbook or IT policy.
Limit Access – Need to Know: Only a small, designated team should have access to Communication Compliance results. Typically, this might be HR and a compliance officer, or an IT security lead. Because the content can be sensitive (personal conversations, etc.), minimise the number of eyes on it. Use the role-based access controls – e.g., only members of the “Compliance Investigators” role group can review messages[1]. Having too many people with access could both violate privacy principles and increase the risk of internal leaks or gossip. Always uphold the principle that privacy is protected except when a genuine compliance concern justifies escalation.
Tune for Signal over Noise: When first enabling a policy, you might get a lot of alerts – not all will be true issues. It’s important to fine-tune policies to reduce false positives. Leverage the classifier confidence levels (if available) or add exclusion keywords if needed. For example, innocent phrases can sometimes trigger a harassment policy (e.g., the word “shoot” in “shoot me an email” could technically trigger a violence classifier). If you see these patterns, update the policy to refine the logic (such as excluding certain contexts or words). Microsoft’s AI models will also learn and improve – you can provide feedback by marking things as false positives which helps the system adapt over time.
Regular Reviewer Training: Ensure the people reviewing the alerts know how to interpret and handle them. They should be familiar with company policies (HR and compliance guidelines) so they can judge whether something truly constitutes a violation. For instance, distinguishing between a joke and harassment can be subtle – context is key. Reviewers should also know the remediation steps: e.g., how to remove a Teams message, how to notify a user properly, and when to involve higher authorities. Microsoft provides documentation and even certification training for compliance features, which can be useful if the stakes are high (though in a small business, on-the-job training and clear internal procedures may suffice).
Workflow Integration: Define what happens after a reviewer flags something as a real issue. Do they notify HR formally? Do they create a case file? SMBs might not have a formal compliance committee, but you should decide, for example: “If a serious harassment incident is detected, HR will handle disciplinary action as per our policies. If a data leak is detected, IT will immediately contain it (like blocking that email) and we’ll inform the client if required by law.” Having these procedures in place ensures that the tool actually triggers effective responses and isn’t just generating alerts that no one follows up on.
Balance Monitoring with Trust: Communication Compliance is a powerful tool – but use it responsibly. Avoid the temptation to over-monitor. For example, it’s usually not productive to flag every instance of casual swearing between teammates as an “HR incident” if that’s part of the office culture in harmless ways. You might set the harassment policy to catch direct insults or slurs rather than every profanity. This way, employees don’t feel overly policed for minor things, and when an alert does come, it’s taken seriously. In short, calibrate the policies so that they catch truly problematic behavior and ignore the trivial.
Periodic Policy Reviews and Audits: Schedule a regular review (say, every quarter) of your Communication Compliance setup:
- Check if the policies are still aligned with any new regulations or internal policy changes.
- Review metrics: How many alerts per policy? False positive rate? Use these to adjust thresholds.
- Ensure all licensed users still need to be covered – e.g., if someone left the company or changed roles, update your scopes.
- Consider if new communication channels being adopted (maybe your org starts using a new third-party app – you might ingest that via a connector into Purview so it’s also monitored).
- Check if the policies are still aligned with any new regulations or internal policy changes.
Combine with Other Purview Solutions: Communication Compliance is one piece of a broader compliance strategy. SMBs should also take advantage of related tools:
- Data Loss Prevention (DLP): While Communication Compliance can catch data leaks after the fact, DLP policies (in Exchange, Teams, etc.) can prevent or block sensitive info from being sent in the first place. Use DLP and Communication Compliance together – DLP to block obvious policy violations in real-time, and Communication Compliance to review more nuanced or contextual issues that slip past DLP.
- Insider Risk Management: If you have E5 add-ons, Insider Risk Management can correlate communication signals with other signals (like file downloads, odd user activity) to flag high-risk patterns (e.g., an employee who is about to quit and is behaving suspiciously). A Communication Compliance alert (like someone emailing themselves a client list) can increase an insider risk score. For an SMB, this might be overkill, but for those dealing with very sensitive data, it’s worth exploring.
- Compliance Manager & Audit: Use Compliance Manager to track your overall compliance posture and improvement actions. Use Audit (Standard/Premium) to search log data if you need to investigate how a particular incident happened beyond the communication itself.
- Data Loss Prevention (DLP): While Communication Compliance can catch data leaks after the fact, DLP policies (in Exchange, Teams, etc.) can prevent or block sensitive info from being sent in the first place. Use DLP and Communication Compliance together – DLP to block obvious policy violations in real-time, and Communication Compliance to review more nuanced or contextual issues that slip past DLP.
Document and Communicate Outcomes: When Communication Compliance does surface a real issue and it’s dealt with, consider if there’s a lesson for the wider organisation. For instance, if several people were flagged for discussing confidential project details in a public Teams channel, maybe send a gentle company-wide reminder about information handling guidelines (without naming anyone, of course). The tool’s purpose is partly preventive – but educating users will amplify its effectiveness by reducing incidents in the first place.
By following these best practices, an SMB can effectively use Microsoft Purview Communication Compliance to maintain a professional and secure communications environment. The end result is a workplace where employees are protected from harassment, sensitive data is protected from slipping out, and the organisation stays on the right side of compliance requirements – all without unduly infringing on privacy or trust. With the right licensing in place[6] and a thoughtful implementation, even a smaller organisation can benefit from the same level of oversight and protection that large enterprises enjoy with Microsoft’s compliance solutions.
References: All information in this report was gathered from Microsoft’s official documentation and licensing guides, as well as industry sources, to ensure accuracy and relevance for an Australian SMB context. Microsoft Learn documentation on Communication Compliance[1][4], Microsoft’s service descriptions and licensing FAQs[2][6], and expert commentary were used throughout to provide a comprehensive overview. Pricing information was referenced from Australian Microsoft 365 partners and Microsoft’s own pricing disclosures[2][5] (all prices are in AUD). Please consult with a Microsoft licensing specialist for the latest pricing and compliance requirements, as these can change over time.
References
[1] Get started with Communication Compliance | Microsoft Learn
[2] Office 365 Pricing Australia | Crowd IT
[4] Create and manage Communication Compliance policies
[5] M365 – Microsoft 365 E5 Compliance – Ozi Telecom Australia
[6] Purview Microsoft 365 Business Premium Licensing question
[7] Microsoft 365 Compliance Licensing Comparison
[8] Microsoft Purview service description – Service Descriptions
")