This series of posts is an approach to implementing Intune inside a business. So far, I have covered off:
1. Create compliance policies and update devices to be compliant
2. Implement LAPS to control the local device admin account that cannot be deleted
3. Remove all other accounts from local administrator group on devices
4. Setting the default search engine in Edge with Intune
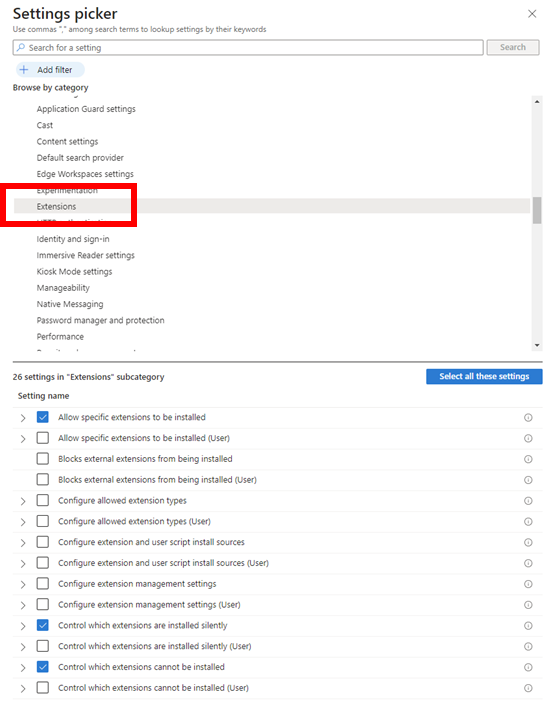
5. Managing browser extensions in Edge with Intune
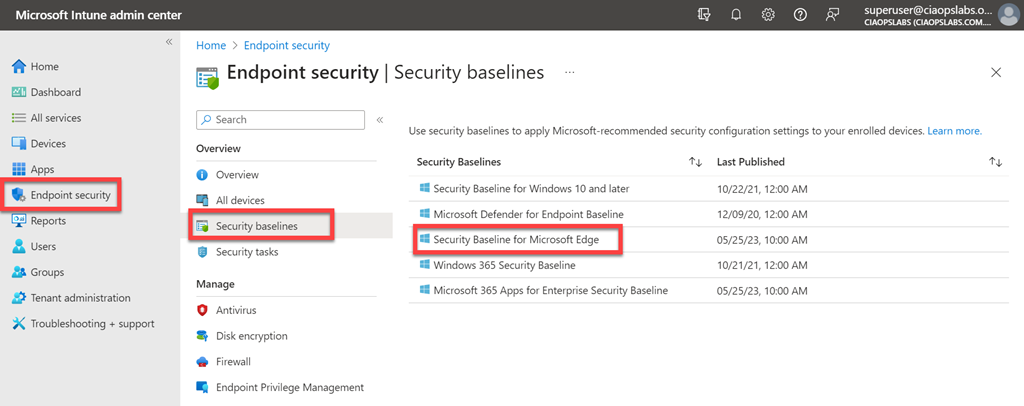
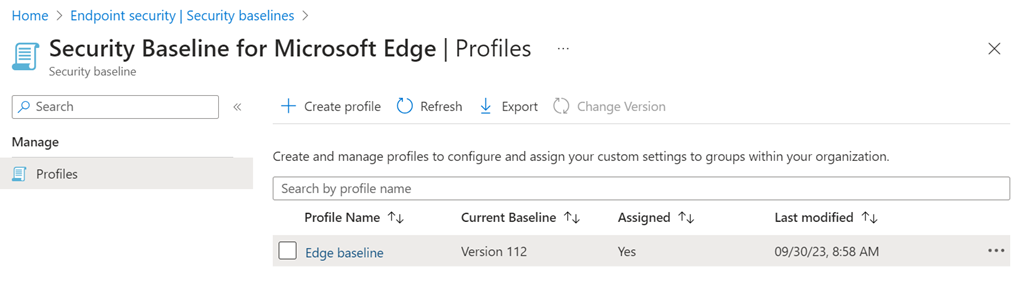
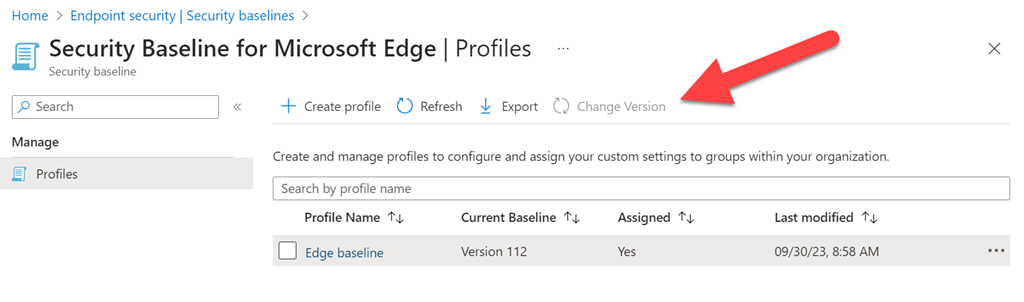
6. Setting an Edge Security Baseline with Intune
The next recommended setting to implement is Attack Surface Reduction (ASR) rules. I’ve detailed how you can set this on individual devices using PowerShell here:
Show ASR settings for device with PowerShell
I’ve also detailed how to do this with Intune previously:
Attack surface reduction for Windows 10
In a nutshell, ASR is going to prevent child processes from launching, which is typically how a malware infection starts.

To create a stand alone ASR rule navigate to Endpoint security, Attack surface reduction in the Intune portal and select Create policy, as shown above.
Select the platform as Windows 10, Windows 11 and Windows Server and the profile as Attack Surface Reduction Rules.
Then Create the policy
As always, give the policy a meaningful name.

You should then see a list of the 16 standard ASR rule types as well as a rule called Block Webshell creation for Severs.
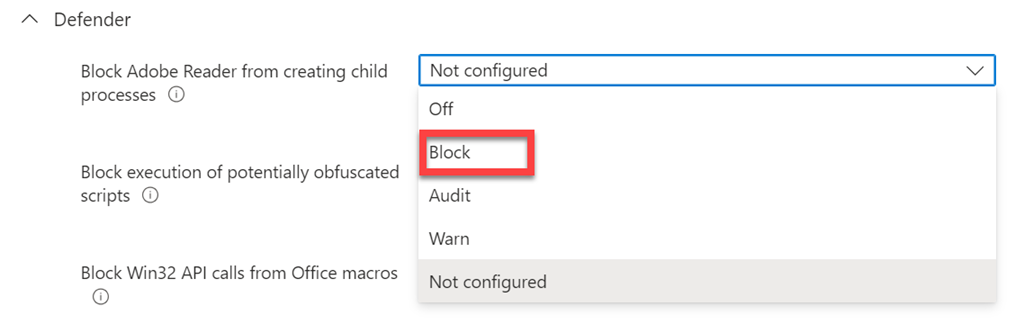
The best practice is to set all of these to Block. However, you will also see options for Audit and Warn if you want to take a more cautious approach.

The good thing about an individual ASR policy like this is that you get a lot more options that can be configured, unlike other policies in Intune that also include ASR. An example if the above, where you can provide enter a directory or file which will prevent ASR rules from matching. As an example, a path might be defined as: C:\Windows to exclude all files in this directory. A fully qualified resource name might be defined as: C:\Windows\App.exe.
Best practice is not to have any exclusions.

A little further down you’ll see a setting for Enable Controlled Folder Access as shown above. The controlled folder access feature removes modify and delete permissions from untrusted applications to certain folders such as My Documents.
Best Practice is to set this to Enabled.
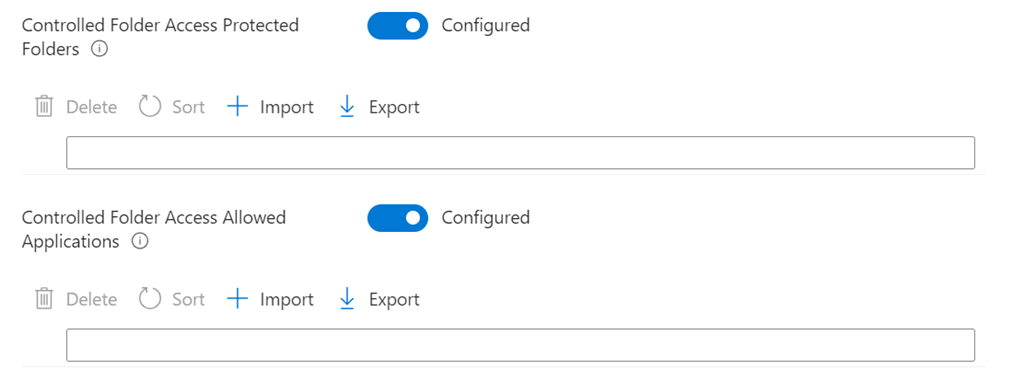
Under this you can set Controlled Folder Access Protected Folders and Controlled Folder Access Allowed Applications. Controlled Folder Access Protected Folder allows adding user-specified folder locations to the controlled folder access feature. These folders will complement the system defined folders such as My Documents and My Pictures. The Controlled Folder Access Allowed Applications allows user-specified applications to the controlled folder access feature. Adding an allowed application means the controlled folder access feature will allow the application to modify or delete content in certain folders such as My Documents. In most cases it will not be necessary to add entries. Windows Defender Antivirus will automatically detect and dynamically add applications that are friendly.
Best practice is to not have any settings here and to have these both set to Not configured.

When you configure an individual rule you’ll also see the ability to set exceptions for just this rule. As an example, a path might be defined as: c:\Windows to exclude all files in this directory. A fully qualified resource name might be defined as: C:\Windows\App.exe.
Once you have determined your settings you then apply the policy to an audience in your environment. You can use multiple policies if needed for different audiences.
If you want to monitor ASR actions in your environment you can use the following KQL query:
DeviceEvents
| where ActionType startswith ‘Asr’
This going to help you identify which devices and processes ASR is impacting, making troubleshooting much easier.
If you want to read more about ASR then visit:
Understand and use attack surface reduction capabilities
I believe ASR is something that should be enabled fully on all Windows devices, withou any exceptions or exclusions. It is an ability included with Windows for free and just needs to be enabled, either by policy or PowerShell. I would recommend setting an individual ASR policy as I have shown above as it provides the greatest flexibility when configuring as well as the greatest number of exclusions if required. Many other Intune policies include the ability to configure ASR but if you have a stand alone policy you should not configure it elsewhere or you may end up with configuration clashes and errors.
The next recommended policy will be for Defender for Endpoint.