One of the challenges of working in a virtual infrastructure envionment is that you need to keep track of all the different resources. Things like virtual machine images, storage, network cards, etc all need to be assembled into a completed virtual machine.
Typically, all of this has been done piecemeal and by hand. Microsoft’s best practice is to move away from this IaaS version 1 to IaaS version 2 or using something it calls Azure Resource Groups.
You can basically think of Azure Resource Group as a container into which you put everything your need for your infrastructure configuration. Because everything is now in a single object it makes it easier to build and delete if necessary. That way it makes it easier to build is that you can now basically script the whole process.
The following will take you through a very basic process of creating a single Azure virtual machine using the Azure Resource Manager so you get an idea of the differences from the ‘classic’ method of building infrastructure.
The easiest way to deploy using Azure Resource Manager is to use Visual Studio. However, don’t install Visual Studio first! You’ll have problems if you do.
Instead, visit the following location:
https://www.visualstudio.com/en-us/features/azure-tools-vs.aspx
and select the link to Download Azure SDK and then run the download.
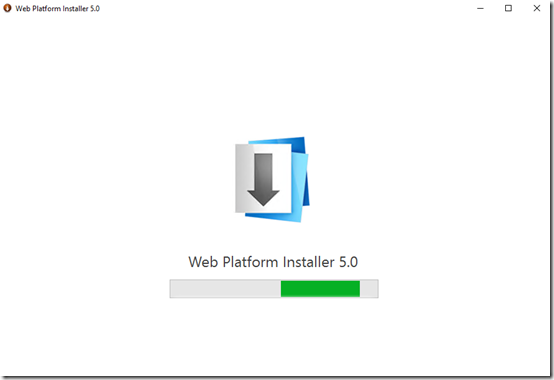
This will launch the Web Platform Installer as shown above. This will download not only the free Visual Studio Community Edition but also add the appropriate Azure components for you automatically.
You should now see the installer for Visual Studio Community 2015 with Microsoft Azure SDK displayed as shown above.
Select Install to continue.
Ensure you have enough free space on the machine to install all the components. The total size of the installation is displayed as shown above.
Select I Accept to continue.
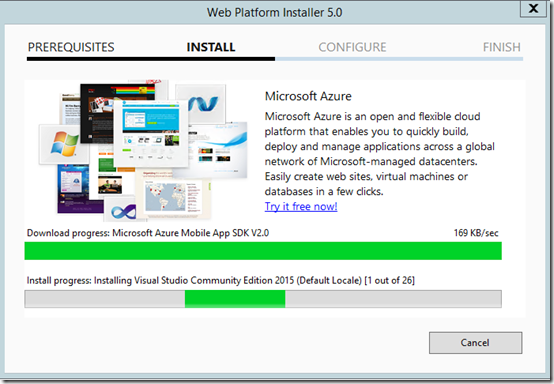
The installation will then commence. This whole process of downloading and installing the appropriate components will take a fair amount of time, so generally allow 45 – 60 minutes for the process to complete.
You’ll see the progress displayed on the lower bar along with the total of components that have been installed so far.
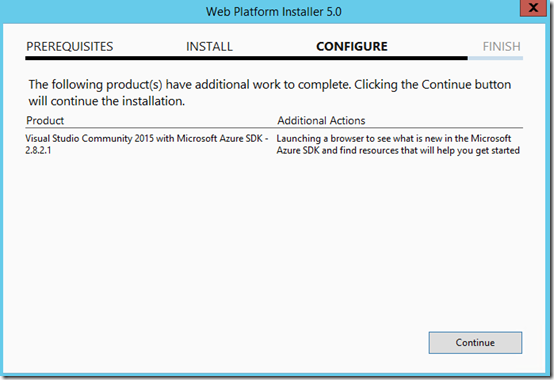
When the process is complete, you’ll see the above screen.
Select Continue.
You’ll then see a summary of installation process.
Select Finish.
You’ll then be given the option to download additional components if desired.
Select Exit.
Run Visual Studio. Select File | New | Project.
On the left hand side of the dialog that appears, open Installed | Templates | Visual C# | Cloud. On the right, you should see Azure Resource Group at the bottom of the list, as shown above.
Select Azure Resource Group, provide a name for the project and press the OK button to proceed.
You’ll then be prompted to select an Azure template. In this case Windows Virtual Machine will be selected.
After selecting the template, press OK to continue.
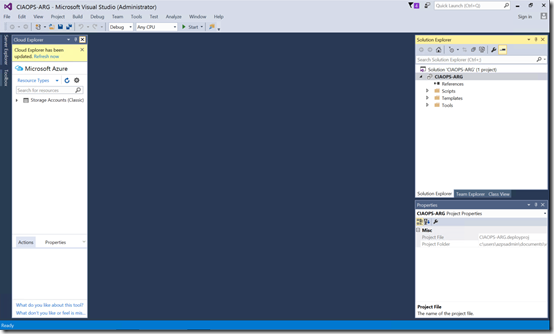
This will open Visual Studio proper on your desktop like shown above.
In the top right you’ll see the Solution Explorer box as shown above. In here will be a Templates folder that you need to open. You should then find two .JSON files inside.
Select WindowsVirtualMachine.json to continue.
This should open the file in a large window in the center of the page.
Take a look through the file to see all the options. If you want to customise your virtual machine deployment you’ll need to do it in this file.
However, don’t make any changes to the file at this stage.
Right mouse click on the project name in the Solution Explorer box in the top right of the Visual Studio desktop.
From the menu that appears, select Deploy and then New Deployment from the submenu.
This will open a new window as shown above. Here select Add an account.
You’ll then need to add the login details for the Azure account in which the new Virtual Machine will be created in.
When you have added your Azure account most of the remaining fields will be populated has shown above.
Select the pull down option for the empty Resource group.
From the pull down menu that appears select .
Enter a name for the Resource Group. This will the container in which all the assets live.
Next, select a region where this Resource Group and the items it contains will reside. Here, Australia East has been selected.
Select Create to continue.
You’ll be returned to the previous window. Here, select the Edit Parameters button.
Enter the virtual machine administrator login name in the adminUsername field.
Enter the virtual machine administrator password in the adminPassword field.
Enter a name in the dnsNameForPublicIP field. This fieldmust be in lowercase and not contain special characters (i.e. !@$%- etc is not supported).
All of these values could have be entered in the configuration JSON if desired.
It is also recommended that you select the option Save passwords, otherwise you’ll be prompted top continually enter all these details during the creation process.
When complete, select the Save button to continue.
Select the Deploy button.
The deployment of the Resource Group will now commence. You can view the progress in the Output box at the bottom of the Visual Studio desktop.
The results of each step in the deployment process will be displayed. If there are any errors they will also be displayed here.
If you now look in the new Azure portal, as shown above, under the Resources groups area, the Resource Group just created should appear. Select this.
This will then display all the assets contained within that group. Select any whitespasce in the lower part of this blade.
Doing so will open the Resources blade where you can see each individual resource as it is created. Select the Refresh button at the top of the page to see new resources as the configuration progresses.
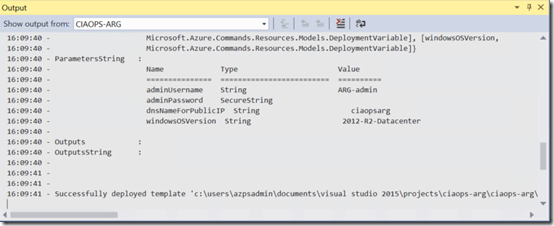
After a while the Output box on the Visual Studio desktop should show you that the deployment process is complete as shown above.
If you then return to the Resource Group and drill down into the virtual machine, you should see something like shown above. That is a running virtual machine.
So, that’s the way to get a single basic virtual machine up and running with Azure Resource Manager. It may seem like more work but as you begin to scale and manage large and more complex configurations it makes life much easier.
It is also interesting to note, as I have said many time here before, the future is about software. Azure Resource Manager shows how important it is to be comfortable with coding, which is not something I see with most IT Professionals. So now is the time to start getting comfortable!
You can also do all of this using PowerShell, which will be post coming in the future. For now, be fruitful and multiply using Azure Resource Manager for your IaaS environment.

