Introduction
Bring Your Own Device (BYOD) programs allow employees to use personal Windows laptops for work, but this flexibility demands strict security measures to protect company data. Microsoft 365 Business Premium provides integrated tools like Azure AD (for identity), Intune (Microsoft Endpoint Manager for device management), and Microsoft Defender for Business to secure both managed and unmanaged devices[1]. A comprehensive onboarding checklist helps IT departments ensure that every personal Windows device meets the organization’s security requirements and compliance standards before accessing corporate resources. This report outlines key steps and best practices for onboarding BYOD Windows 10/11 devices under M365 Business Premium, including installing security software, configuring security policies, and protecting company information at all stages.
Key Objectives: By following this checklist, organizations can: (1) Standardize the BYOD setup process to cover all critical security configurations, (2) Enforce best practices like encryption, up-to-date antivirus, and multi-factor authentication, and (3) Ensure ongoing compliance and support, including handling lost devices and user training. Adopting these measures helps maintain data integrity and regulatory compliance while enabling employees to work productively on their own devices[2][2].
Step-by-Step BYOD Onboarding Checklist
Below is an ordered checklist of steps to onboard a personal Windows device under M365 Business Premium. Each step is crucial to safeguard corporate information on that device from the start:
-
Verify Device Requirements and Update OS: Ensure the personal PC meets minimum security requirements before enrollment. Check that the device is running a supported version of Windows 10 or 11, and install the latest system updates and patches. If the PC is on Windows Home edition, upgrade it to Windows 10/11 Pro because advanced security features like BitLocker encryption require Pro or Enterprise editions[1]. (M365 Business Premium includes upgrade rights from Windows 7/8/8.1 Pro to 10/11 Pro at no extra cost[1].) Confirm that Windows Update is enabled so the device continues to receive security patches regularly.
-
Enable Multi-Factor Authentication (MFA) for User Accounts: Secure user identity before granting access to company data. Require all BYOD users to set up MFA on their Microsoft 365 accounts before or during device enrollment. Microsoft 365 Business Premium supports strong authentication policies – for example, using the Microsoft Authenticator mobile app for OTP codes or push notifications[1]. Helping every user enable MFA is one of the first and most important steps[3], as it significantly reduces the risk of account breaches by adding a verification step beyond just passwords. Administrators can enforce MFA through Azure AD Conditional Access or Security Defaults. Ensure users have registered at least two MFA methods (such as authenticator app and phone) and have tested that they can log in with MFA. This guarantees that even if a password is compromised, attackers cannot easily access corporate apps.
-
Install Microsoft 365 Apps and Company Portal: Set up work applications and tools needed for a managed, secure experience. Instruct the user to install the latest Microsoft 365 Apps (Office suite including Outlook, Word, Excel, Teams, OneDrive, etc.) on the personal device[3]. These official apps are designed to work with M365 security controls. Additionally, have the user install the Intune Company Portal app (for Windows, it’s available from the Microsoft Store or as part of Windows settings) – this app will facilitate device enrollment in Microsoft Intune (Endpoint Manager) and allow the device to receive security policies. Using the Company Portal, the employee should sign in with their work account and register/enroll the device in Intune. This enrollment marks the device as known to the organization and allows IT to apply required configurations (while respecting privacy on personal data). If full enrollment is not desired for BYOD, consider using Windows device registration (Azure AD register instead of join) along with app protection policies; however, full Intune enrollment is recommended for comprehensive policy enforcement.
-
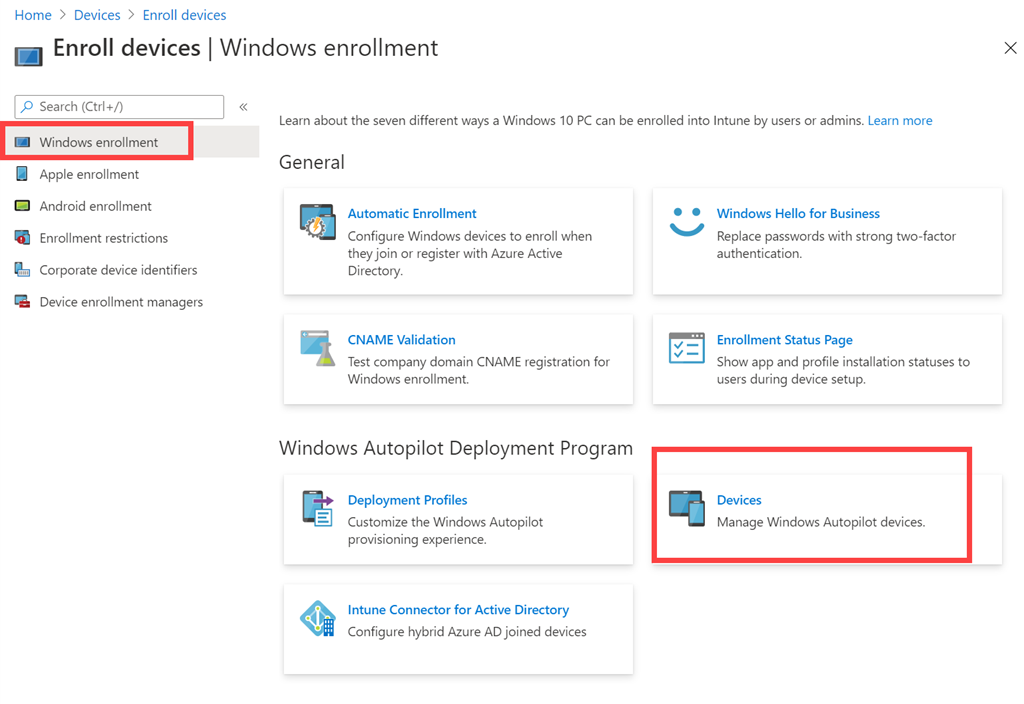
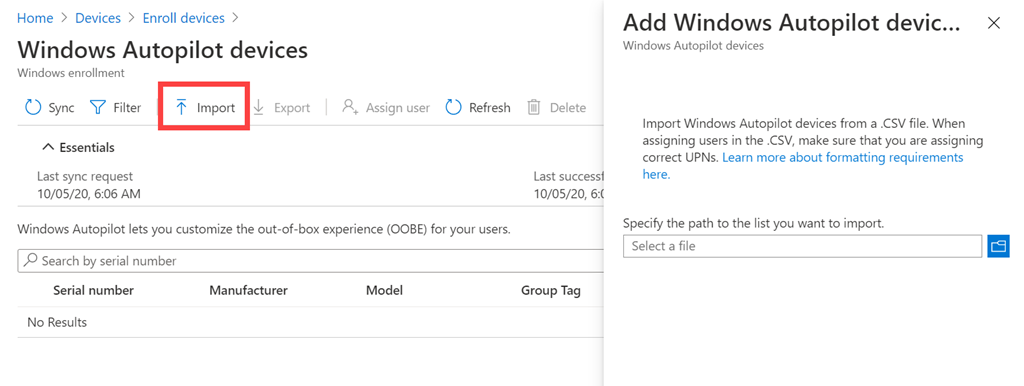
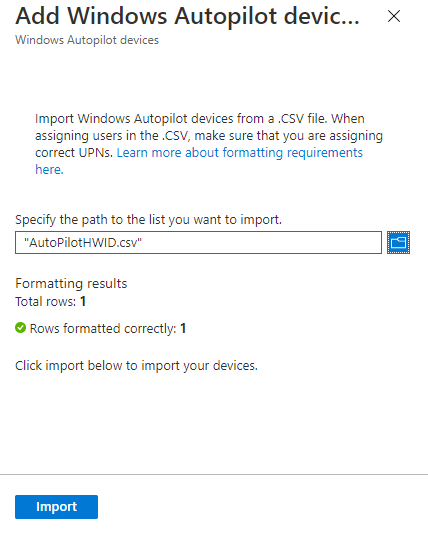
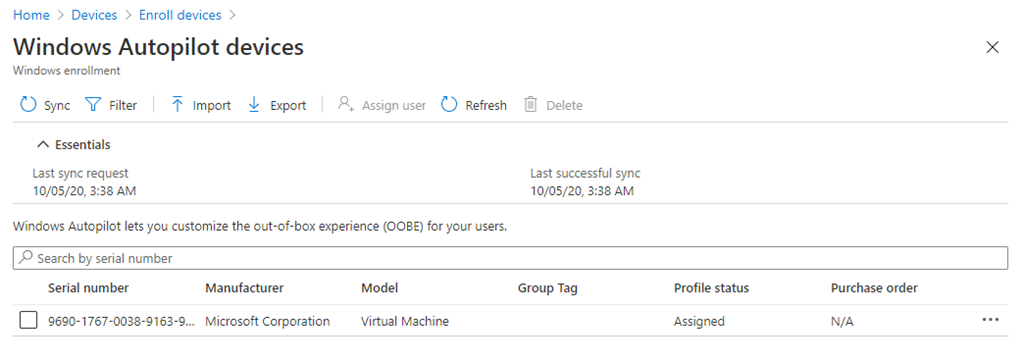
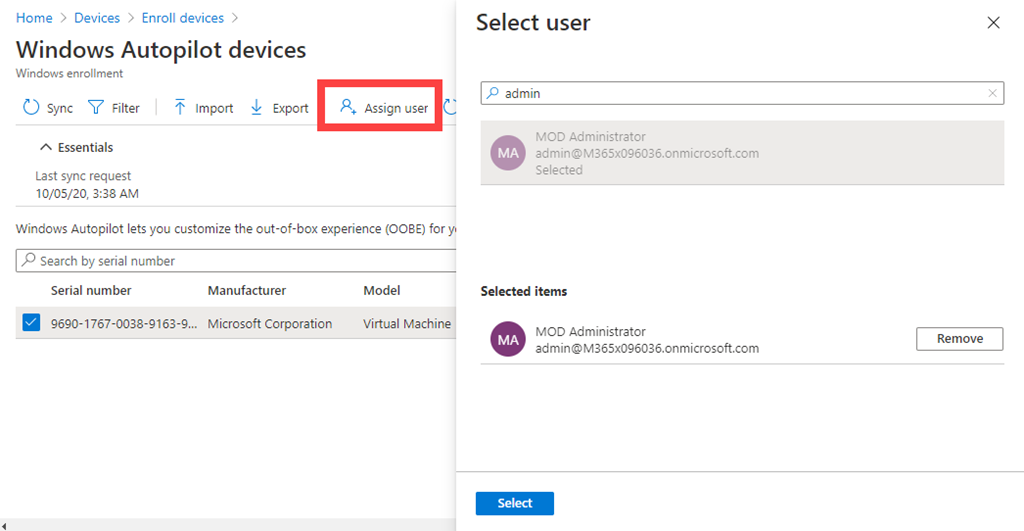
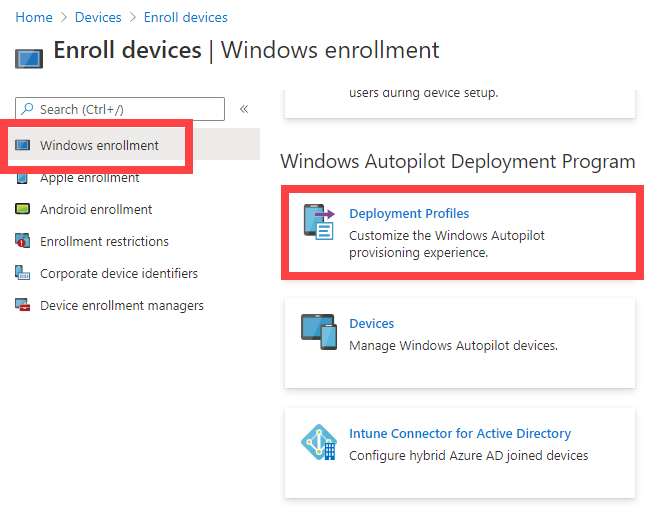
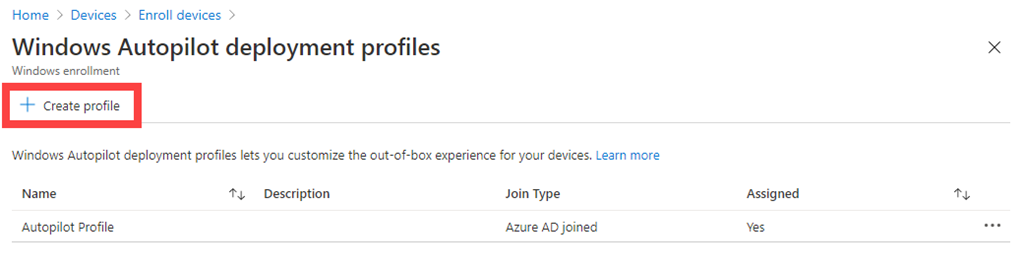
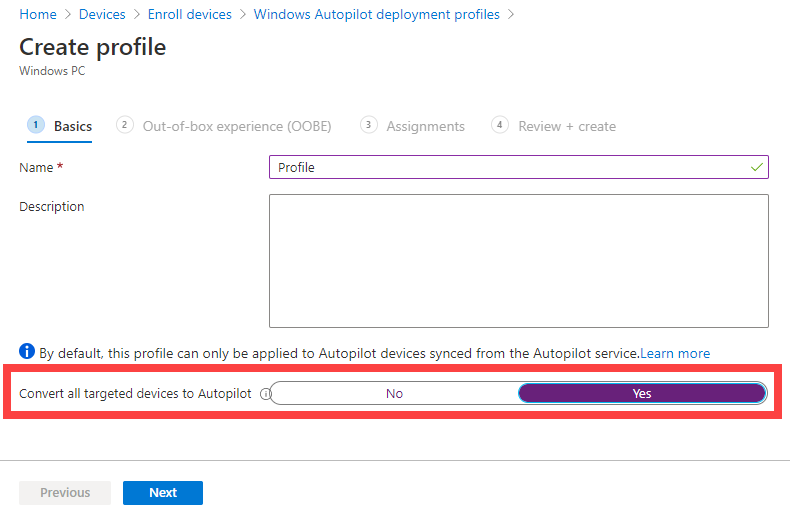
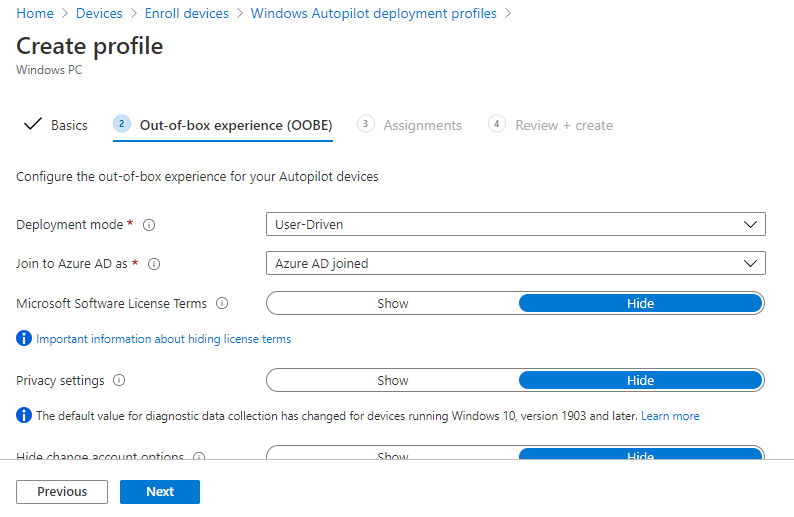
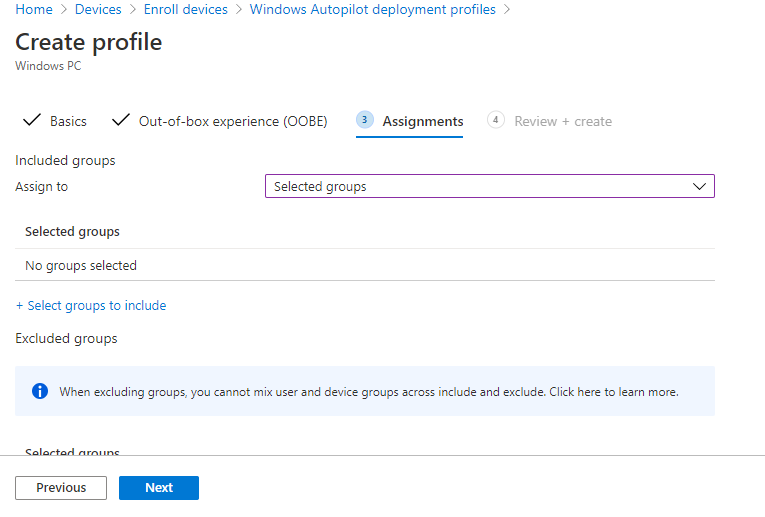
Enroll the Device in Azure AD and Intune: Connect the device to the company’s Azure AD for identity and enable mobile device management. During or after Company Portal installation, guide the user to join or register the device to Azure AD (work account) and complete Intune enrollment. This process may involve navigating to Settings > Accounts > Access work or school on Windows and clicking “Connect” to add the work/school account. The user will authenticate (using MFA as set up earlier) and the device will become Azure AD joined or registered, and automatically enroll in Intune MDM if configured. Once enrolled, Intune will push down the organization’s security configurations and compliance policies to the BYOD device[1][1]. Tip: Have clear instructions or an enrollment wizard for users – possibly leverage Microsoft Autopilot for a smoother experience if the device is being set up from scratch[1]. Successful enrollment allows the device to be monitored and managed remotely by IT.
-
Apply Security Configuration and Compliance Policies: Configure the device with all required security settings via Intune or guided manual steps. After enrollment, the device should receive Intune policies that enforce the organization’s security standards. Key security policies to configure include:
- Device Encryption: Require full-disk encryption (BitLocker) on the BYOD Windows device. Intune compliance policy can mark a device non-compliant if BitLocker is not enabled. For devices that support device encryption (a lighter form available on some Windows Home/modern devices), ensure it’s turned on[4]. BitLocker (or Device Encryption) ensures that if the laptop is lost or stolen, data on the drive cannot be accessed without proper credentials. (Note: BitLocker requires Windows Pro or higher; this is why upgrading Home editions is necessary.)
- Antivirus and Anti-malware: Ensure that Microsoft Defender Antivirus (Windows Security) is active and up-to-date on the device[4]. Intune’s Endpoint Security policies or Microsoft Defender for Business can enforce real-time protection and signature updates. Users should be prevented from disabling antivirus. If the organization opts for a third-party security suite, that should be installed at this stage. M365 Business Premium includes Microsoft Defender for Business, an endpoint protection platform with advanced threat detection; devices can be onboarded to this service for enhanced protection against malware, ransomware, and phishing[1].
- Firewall: Verify that the Windows Defender Firewall is enabled on all network profiles[4]. Intune can configure firewall settings or a baseline security policy. A firewall helps block unauthorized network access, and it should remain on even if an alternative firewall is in use[4].
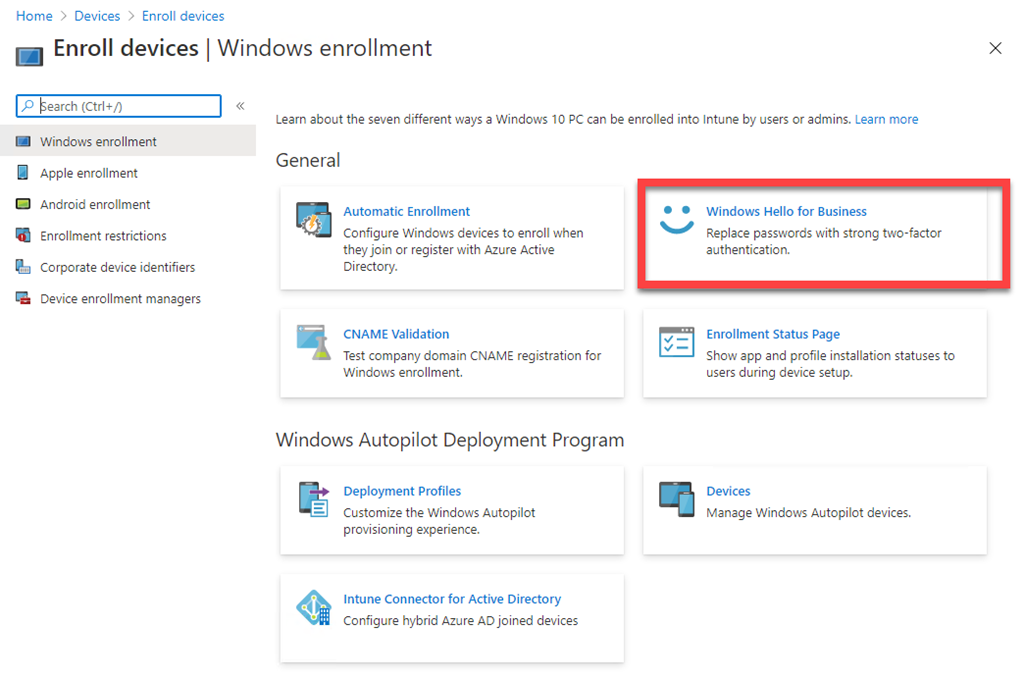
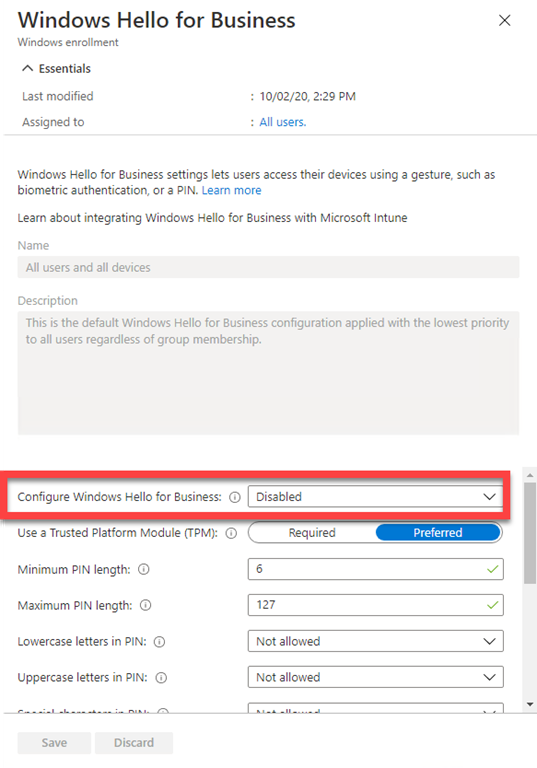
- Device Access Requirements: Enforce a secure lock screen and sign-in policy. Intune configuration can require a strong PIN/password or Windows Hello for Business (biometric or PIN) for device login. This ensures the device is inaccessible to others if left unattended. Also configure idle timeouts (auto lock after a period of inactivity).
- OS and App Updates: Use Intune policies or Windows Update for Business settings to force automatic updates for Windows OS and Microsoft 365 Apps. Keeping the system updated patches vulnerabilities regularly[1]. Enable Microsoft Store auto-updates as well, so other apps (like Company Portal) stay updated.
- Application Protection: Optionally deploy App Protection Policies (MAM-WE) for sensitive apps. For example, require that company Outlook and OneDrive apps have additional PIN or only allow saving files to company-approved locations. This can contain corporate data within managed apps even on a personal device, adding a layer of data loss prevention.
- Conditional Access Policies: Configure Azure AD Conditional Access to complement device policies. For BYOD scenarios, set policies that allow access to company cloud resources only if the device is marked compliant with Intune or if accessing via approved client apps. Also require MFA on unmanaged or new devices. Conditional Access ensures that devices not meeting security criteria (or unknown devices) are blocked from company email, SharePoint, Teams, etc., thereby protecting data.
By applying these policies, the BYOD PC is transformed into a trusted device: it has encryption enabled, a firewall up, active malware protection, and adherence to password/MFA rules. Intune’s compliance reports will show if any device falls out of line (e.g., encryption turned off or OS outdated), enabling IT to take action[1].
-
Install and Verify Security Software: Deploy and confirm all necessary security software is running correctly on the device. This includes:
- Microsoft Defender Antivirus & Firewall: As noted, ensure the built-in Windows Security suite (Defender AV and Firewall) is enabled. No separate installation is needed on Windows 10/11 because these come pre-installed, but verify real-time protection is on and virus definitions are current[4]. In the Windows Security settings, check for any alerts or needed actions (update definitions, run an initial scan, etc.).
- Microsoft Defender for Business (Endpoint): Since M365 Business Premium includes this advanced security, onboard the device to Defender for Business if not done via Intune. This can be achieved through Intune onboarding policies or via the Microsoft 365 Defender portal by downloading an onboarding script. Onboarding allows the device to report threats and be monitored for sophisticated attacks in the Defender portal[1]. Once onboarded, verify in the Microsoft 365 Defender Security Center that the device status is healthy (showing as onboarded/active) and that no threats are detected[1][1].
- Additional Security Tools: If your organization uses additional security software (such as a VPN client for secure remote access, endpoint DLP agents, or device management agents), install those as part of onboarding. For example, install a corporate VPN and test that it connects successfully. Ensure any browser security extensions or configurations (like enabling SmartScreen filter in Edge or Chrome) are in place as required.
- Verify Security Settings: After installation, run a security health check on the device. This could include verifying BitLocker status (e.g., using
manage-bde -statuscommand or via Windows settings), running a test malware scan with Defender, and confirming that firewall rules/policies have applied. Many of these can be reviewed in the Intune device record (which will list compliance with each setting) or directly on the PC.
Document that security software is in place (via screenshots or compliance reports) for auditing. This step ensures the device is not only configured to be secure but actively running protections against threats on an ongoing basis.
- Microsoft Defender Antivirus & Firewall: As noted, ensure the built-in Windows Security suite (Defender AV and Firewall) is enabled. No separate installation is needed on Windows 10/11 because these come pre-installed, but verify real-time protection is on and virus definitions are current[4]. In the Windows Security settings, check for any alerts or needed actions (update definitions, run an initial scan, etc.).
-
Test Access to Company Resources Securely: Before declaring the onboarding complete, verify that the user can access work resources under the new security constraints. For example, sign into Office 365 (Outlook, Teams, SharePoint) from the device. The login should prompt MFA if not already remembered (testing that MFA is working). Access email and ensure that any email security features (like Outlook’s phishing protection or Safe Links, if configured under Defender for Office 365) are active. Try opening a company document from OneDrive/SharePoint and ensure it opens in the managed Office app. If you have set up conditional access such that only compliant devices can download certain content, confirm that this device is allowed. Conversely, attempt an action that should be blocked (for instance, downloading a sensitive file to an unapproved location or using a non-managed app to access a secure file) to verify policies are effective. This practical test ensures that all configuration from previous steps is correctly enforced and the device is ready for productive use without exposing data.
-
Communicate Usage Guidelines to the Employee: As the final onboarding step, educate the device owner on their responsibilities and how to stay within compliance. Review the BYOD policy and security best practices with the user as part of the hand-off. Key points to cover include: keeping the device password private, not disabling security settings (e.g., not turning off the firewall or antivirus), recognizing company data vs personal data on the device, and how to report issues or lost devices. Provide the employee with support resources (like IT helpdesk contact, or a quick-start guide) for using corporate apps on their Windows PC. Emphasize that while IT has enrolled and secured their laptop, the user plays a crucial role in maintaining security—through safe browsing habits, avoiding suspicious email links, and complying with all policies. Regular training and awareness are essential, since even the best technical measures can be undermined by user actions[2]. The user should feel confident about what is expected and what steps to take in various scenarios (e.g., if they see an unfamiliar device warning or if they need to install updates). This wraps up the onboarding, ensuring the employee is ready to work securely on their BYOD laptop.
Post-Onboarding Security Practices and Policies
Onboarding is just the beginning; maintaining security for BYOD devices is an ongoing process. After the initial setup, IT departments should enforce additional measures and be prepared for the full device lifecycle. Below are key practices and policy considerations to ensure company information remains protected on BYOD Windows devices:
-
Continuous Compliance Monitoring: Once devices are enrolled and in use, IT must continuously monitor their compliance and health status. Leverage the Microsoft 365 Defender portal and Intune for visibility[1][1]. Set up alerts or periodic reports for non-compliance (e.g., a device that falls out of encryption or misses updates). Microsoft Intune provides compliance dashboards showing which devices comply with policies and which don’t. Only compliant devices should retain access to sensitive resources – use Conditional Access rules so that if a device becomes non-compliant (say antivirus turns off or OS updates lapse), the device’s access is restricted until issues are resolved. Regularly review devices’ threat status in Defender for Business; if malware was detected on a BYOD machine, ensure it was successfully remediated and investigate if any data was compromised. Monitoring tools allow administrators to run remote antivirus scans or even isolate a device if a serious threat is detected[1].
-
Security Policy Updates and Patching: Threats evolve, and so should your policies. Periodically re-evaluate security policies in Intune/Endpoint Manager to incorporate new best practices or address any gaps. For instance, if a new Windows 11 security feature becomes available (such as improved ransomware protection or driver block rules), update your configuration profiles or baselines to enable it on BYOD devices. Ensure that patch management remains enforced – devices should be getting Windows security updates at least monthly. Intune can be configured to force updates outside active hours and even auto-reboot if needed (with user warnings). The organization should also push updates for Microsoft 365 Apps and any other managed applications. Keep all software (including third-party apps) up to date to reduce vulnerabilities[1]. This may involve user education for apps not managed by Intune, reminding them to update browsers, PDF readers, etc., which could pose risks if outdated.
-
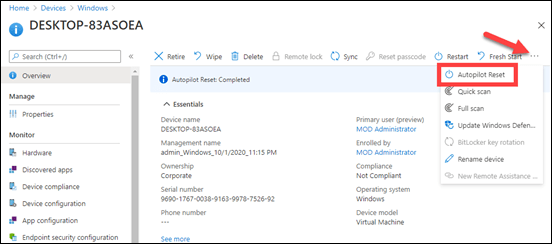
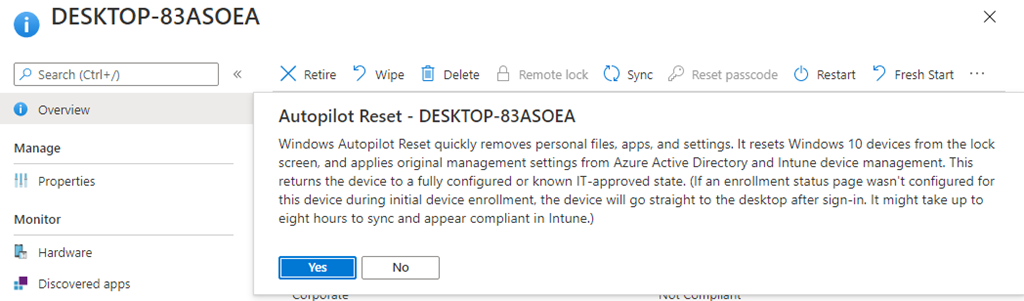
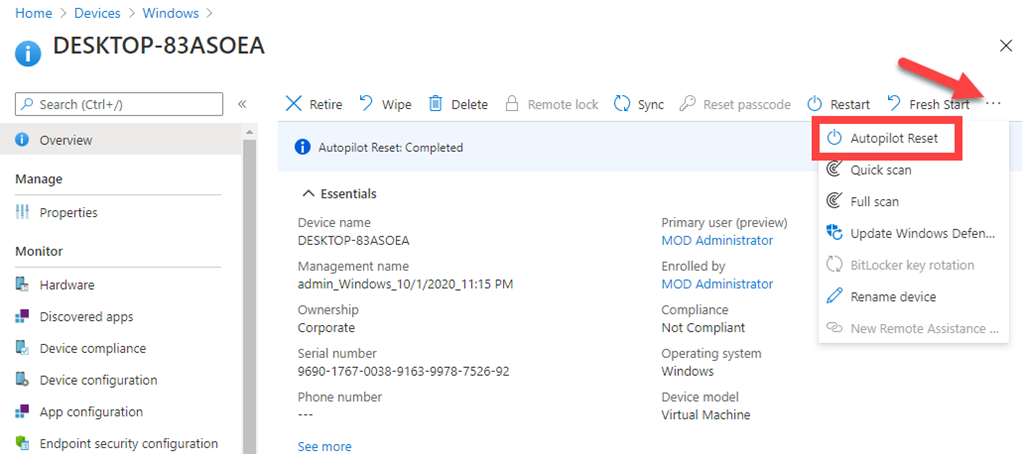
Handling Lost or Stolen Devices: Despite precaution, a BYOD laptop might be lost or stolen – swift action is vital to protect data. Prepare a clear procedure for such incidents as part of the BYOD policy. Usually, the employee must report the loss to IT immediately. IT can then remotely wipe corporate data from the lost device using Intune’s “Retire” or “Selective Wipe” function, which removes company apps, email, and data without erasing personal files. In more severe cases or if the device is fully managed, a full remote wipe/reset might be executed to factory settings. Also, revoke the device’s access in Azure AD (mark it as lost, disable it, or remove it from the list of trusted devices). Because BitLocker encryption was enforced, data on the device’s drive remains inaccessible to unauthorized parties[4]. Nonetheless, monitor the Azure AD sign-in logs or Defender alerts for any unusual attempts from that device. Document the incident, and if appropriate, have the user file a police report. The key is to ensure that a lost BYOD machine cannot be a gateway to company information, thanks to the layered protections in place.
-
Secure Data Removal and Offboarding: When an employee leaves the company or a personal device is no longer used for work, securely remove all corporate information from that BYOD device. Intune provides a Retirement option which will scrub organization data: it removes managed email profiles, de-registers the device from Azure AD, and deletes any locally cached corporate files (for instance, it can wipe the work OneDrive folder if it was marked for enterprise wipe). In addition, ensure that any company licenses or access tokens are invalidated on that device: sign the user out of Office 365 apps (you can expire user sessions from the Microsoft 365 admin center or Azure AD). If BitLocker was used and the recovery key was escrowed to Azure AD, verify that key is revoked from user’s account. Have a checklist for employee exit that includes confirming all their BYOD devices are either wiped or returned to personal-only use. Instruct the user on how to uninstall Company Portal and any work apps if necessary. The goal is to prevent any residual corporate data from remaining on a personal device once it’s out of the BYOD program. This protects company information and also respects the employee’s device ownership going forward.
-
User Education and Training: A strong BYOD security posture combines technology with informed users. Regular security awareness training is crucial, because users who understand the importance of policies are less likely to violate them inadvertently[2]. Conduct periodic training sessions or send out tips covering topics like: how to spot phishing emails, safe internet habits on a work device, proper use of VPNs, and what to do if they suspect a security issue. Also, educate users on acceptable use policies – for instance, discourage storing work files on unapproved personal cloud services or sharing work data via personal email. Make sure employees know the boundaries of IT’s access to their BYOD device (for transparency and trust, clarify that IT manages only corporate data/configuration, and personal files/apps remain private). Provide a BYOD handbook or quick-reference guide that summarizes do’s and don’ts, security steps, and contact information for support. When users understand the “why” behind each security measure, they are more likely to cooperate and less likely to attempt workarounds[2][2].
-
Clear BYOD Policies and Compliance Requirements: Develop a formal BYOD policy document that employees must read and sign. This should outline security requirements (like those in this checklist), acceptable use guidelines, and consequences for non-compliance. From a compliance standpoint, the policy helps ensure the company meets legal and regulatory obligations by extending them to personal devices. Consider data protection laws relevant to your industry – for example, if subject to GDPR or other privacy regulations, the policy should mandate encryption and access controls on any device processing personal data, even if owned by employees. Many regulations (HIPAA for healthcare, PCI-DSS for payment data, etc.) require demonstrable protection of sensitive information; extending those controls to BYOD is essential to stay compliant. Make sure the BYOD program is vetted by the compliance and legal teams so that it aligns with any certifications or standards the company adheres to. In practice, this means personal devices must meet the same security bars as corporate devices – e.g., encryption, audit logging (where feasible), secure user authentication – to protect confidential information[2][2]. Regular audits or reviews of BYOD devices can be done to ensure compliance (with the user’s knowledge and consent as per the policy). Non-compliant devices should be compelled to comply or be blocked from access. This proactive stance and clear documentation help mitigate legal risks and demonstrate due diligence in protecting data.
-
Staying Updated on Threats and Best Practices: Technology and cyber threats evolve rapidly. IT departments should stay informed about the latest security advisories, updates, and best practices, especially related to Windows and Microsoft 365. Subscribe to official Microsoft security blogs or newsletters for updates on new features in Intune, Defender, Windows, etc. Leverage the Microsoft 365 Secure Score tool – it provides suggestions to improve security posture which can highlight areas to tighten in your BYOD policy. Attend webinars or training offered by Microsoft (or reputable security organizations) to continuously improve your BYOD management strategy. It’s also wise to periodically revisit this checklist and policy: at least annually, update it to include new controls or to address any incidents that occurred. For example, if there’s news of a particular type of attack targeting BYOD scenarios, ensure your defenses cover it (perhaps by adding a new rule or user training point). By keeping both IT staff and employees up-to-date on security knowledge, the organization creates a culture of security that extends to all devices. In summary, continuous improvement and vigilance are part of the BYOD security lifecycle – the checklist is a living document that should adapt to emerging risks and technological advancements.
Conclusion
Implementing a robust onboarding checklist for BYOD Windows devices ensures that personal devices meet corporate security standards from day one. Through Microsoft 365 Business Premium’s capabilities like Intune device management, Defender for Business, and Azure AD Conditional Access, organizations can achieve a balance where employees enjoy the convenience of using their own laptops while the company’s information remains well-protected. By following the steps outlined – from enforcing MFA and installing security software to enabling encryption and configuring policies – IT administrators can significantly reduce the risk of data breaches on personal machines. Equally important are the post-onboarding practices: continuous monitoring, user training, and clear policies will maintain security over time and address challenges such as lost devices or evolving compliance requirements.
In essence, securing BYOD is a shared responsibility[2]: IT provides the tools and guidance, and employees uphold the required practices. When done right, a BYOD program with a thorough security checklist can enhance productivity without compromising on security. This report and checklist serve as a comprehensive guide for IT departments to onboard and manage personal Windows devices confidently, ensuring that sensitive company data stays safe on any device, anywhere.。[2][4]
References
[1] Secure managed and unmanaged devices – Microsoft 365 Business Premium
[2] Securing BYOD with Microsoft Intune – A Practical Approach
[3] Set up unmanaged devices with Microsoft 365 Business Premium …
[4] Protect unmanaged devices with Microsoft 365 Business Premium