Another article generated by Copilot Research agent using Claude.
——————————————————–
Executive Summary
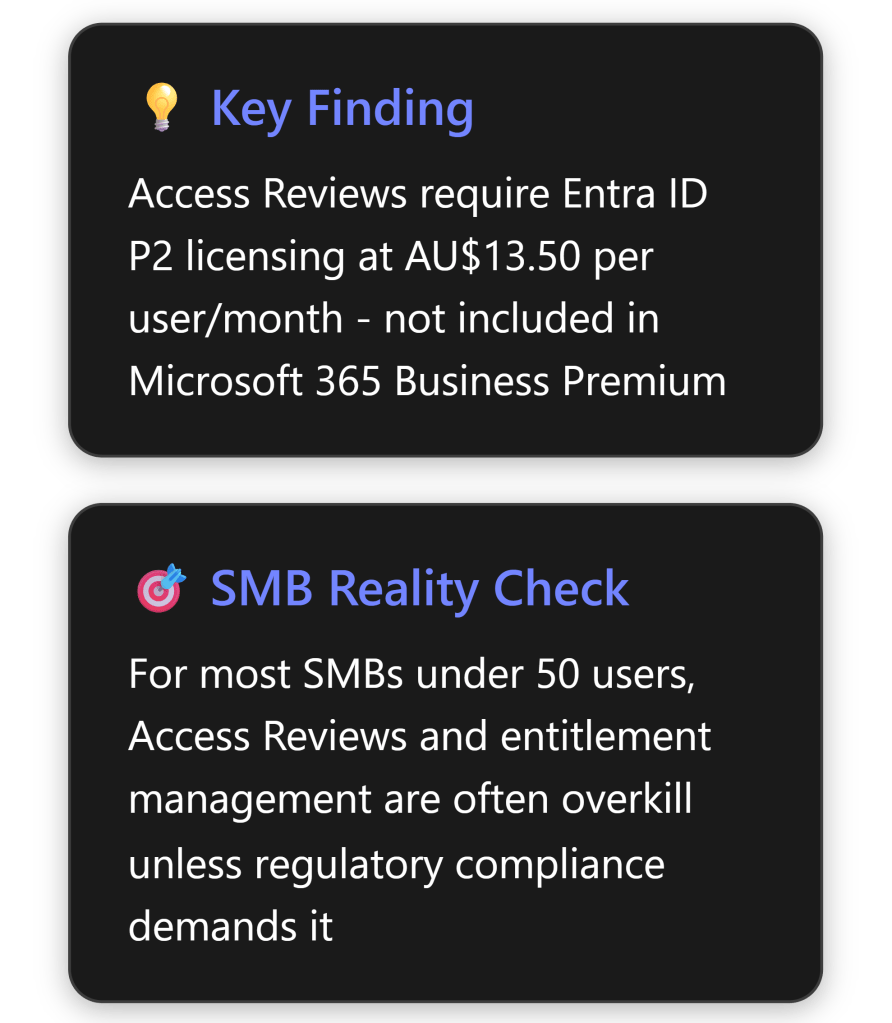
Microsoft Entra ID P2 Access Reviews are sophisticated identity governance tools designed primarily for enterprise scenarios. While they offer robust capabilities for managing user access at scale, their practical value for Australian SMBs is limited and often doesn’t justify the additional AU$13.50 per user per month cost beyond Microsoft 365 Business Premium. [1] [2]
Most SMBs can achieve adequate security and governance through simpler, more cost-effective methods unless they face specific regulatory compliance requirements or manage highly sensitive data. The complexity and cost of implementation typically outweigh the benefits for businesses with fewer than 100 users.
What Are Entra ID P2 Access Reviews?
Core Functionality
Access Reviews in Microsoft Entra ID enable organisations to efficiently manage group memberships, access to enterprise applications, and role assignments through regular certification processes. [1] The feature allows businesses to:
- Schedule regular reviews of who has access to specific resources
- Delegate review responsibilities to appropriate stakeholders (managers, resource owners, or users themselves)
- Automate access removal based on review outcomes
- Generate compliance reports for audit purposes
- Implement time-limited access with automatic expiration
Key Components
Access Reviews operate through several integrated components:
- Review Scope: Define which users and resources to review [3]
- Reviewers: Designated individuals who approve or deny access
- Review Frequency: Weekly, monthly, quarterly, or annual cycles
- Automated Actions: Remove access for denied users automatically
- Smart Recommendations: AI-driven suggestions based on user activity patterns
Step-by-Step Setup Guide for Small Businesses
Prerequisites
Before implementing Access Reviews, SMBs must ensure:
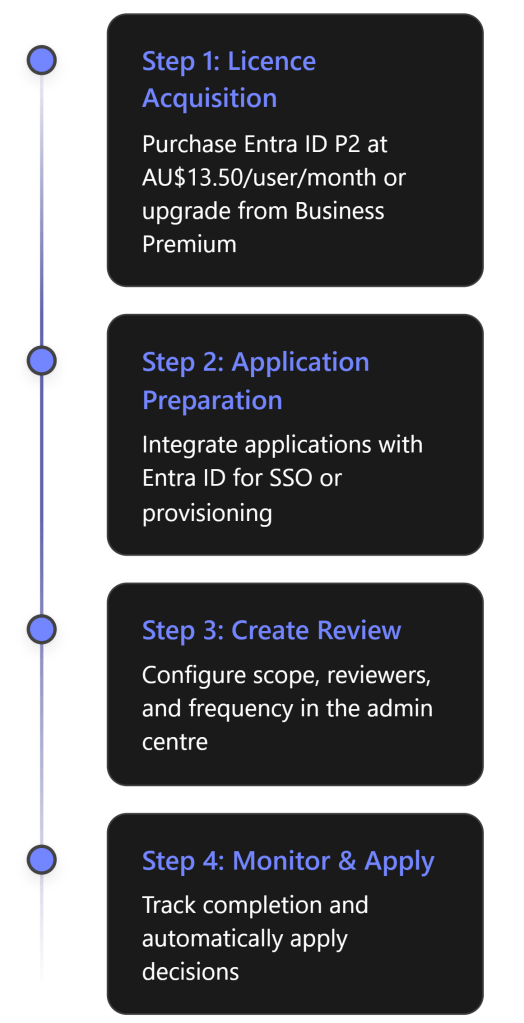
- Licensing: Microsoft Entra ID P2 or Entra ID Governance licenses [4] [5]
- Administrative Access: Identity Governance Administrator role minimum
- Application Integration: Resources must be integrated with Entra ID
Implementation Process
Detailed Setup Steps:
Sign in to Microsoft Entra admin centre as an Identity Governance Administrator [3]
Navigate to ID Governance > Access Reviews
- Select “New access review” to begin configuration
Define Review Scope [3]
- Choose between Teams + Groups or Applications
- Select specific resources or all Microsoft 365 groups with guest users
- Determine user scope (everyone, guests only, or inactive users)
- Choose between Teams + Groups or Applications
Configure Reviewers [3]
- Group owners (recommended for SMBs)
- Selected users or groups
- Users review their own access
- Managers of users
- Set fallback reviewers for orphaned accounts
- Group owners (recommended for SMBs)
Set Recurrence [3]
- Duration: How long reviewers have to complete (typically 14-30 days)
- Start date and frequency
- End date or number of occurrences
- Duration: How long reviewers have to complete (typically 14-30 days)
Configure Settings
- Auto-apply results to resources
- Email notifications and reminders
- Justification requirements
- Decision helpers and recommendations
- Auto-apply results to resources
Benefits for SMBs: An Honest Assessment
Genuine Benefits
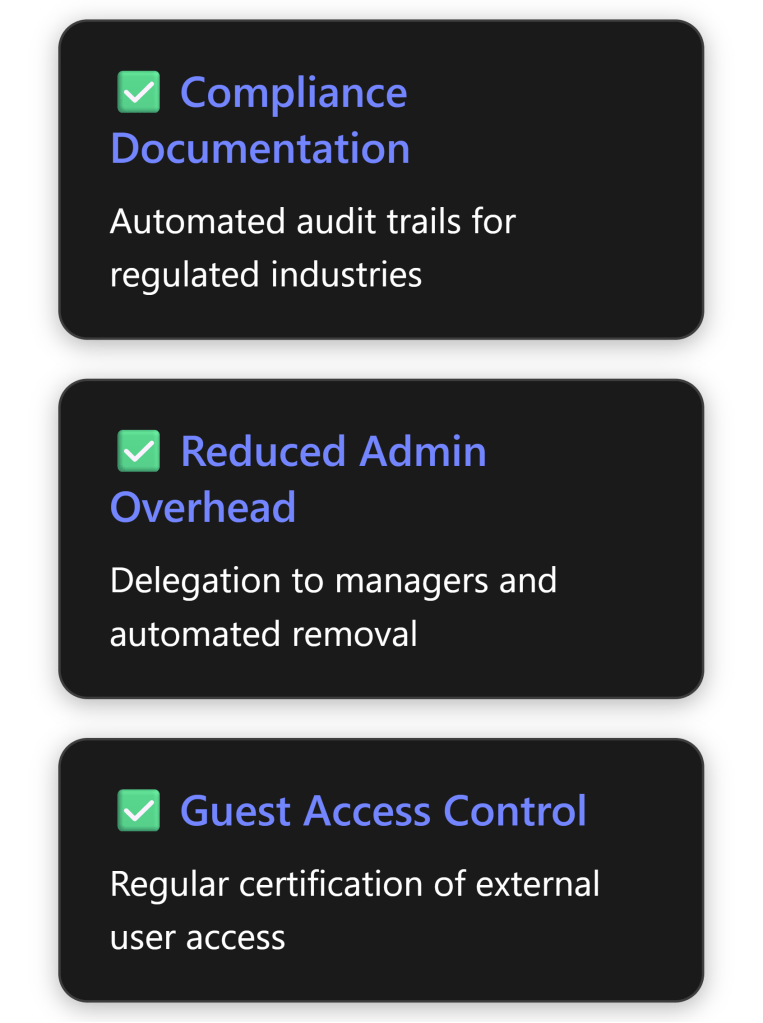
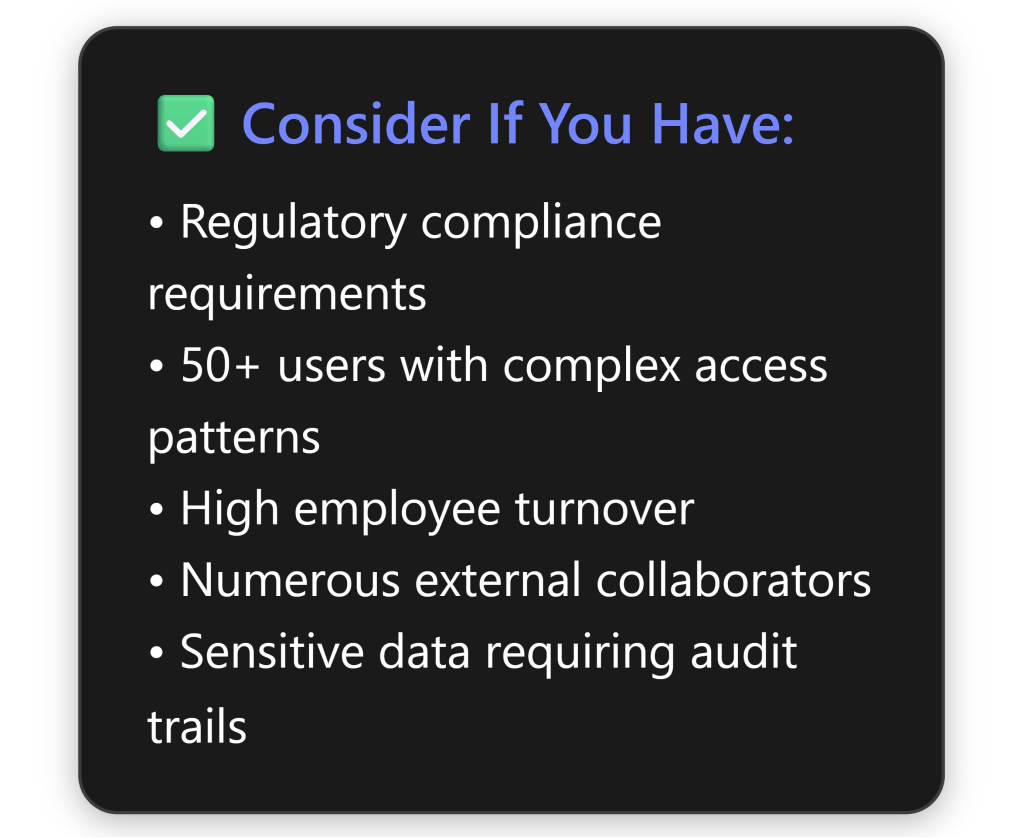
Where Access Reviews genuinely add value for SMBs: [6]
- Regulatory Compliance: Industries with strict compliance requirements (healthcare, finance, legal) benefit from automated documentation
- External Collaboration: Businesses with numerous external partners or contractors gain better control
- Distributed Management: Companies with multiple locations or departments can delegate access decisions
- Risk Reduction: Automated removal of stale access reduces security exposure
Reality Check: Limitations for SMBs
Critical considerations that diminish value for small businesses:
Cost vs Benefit:
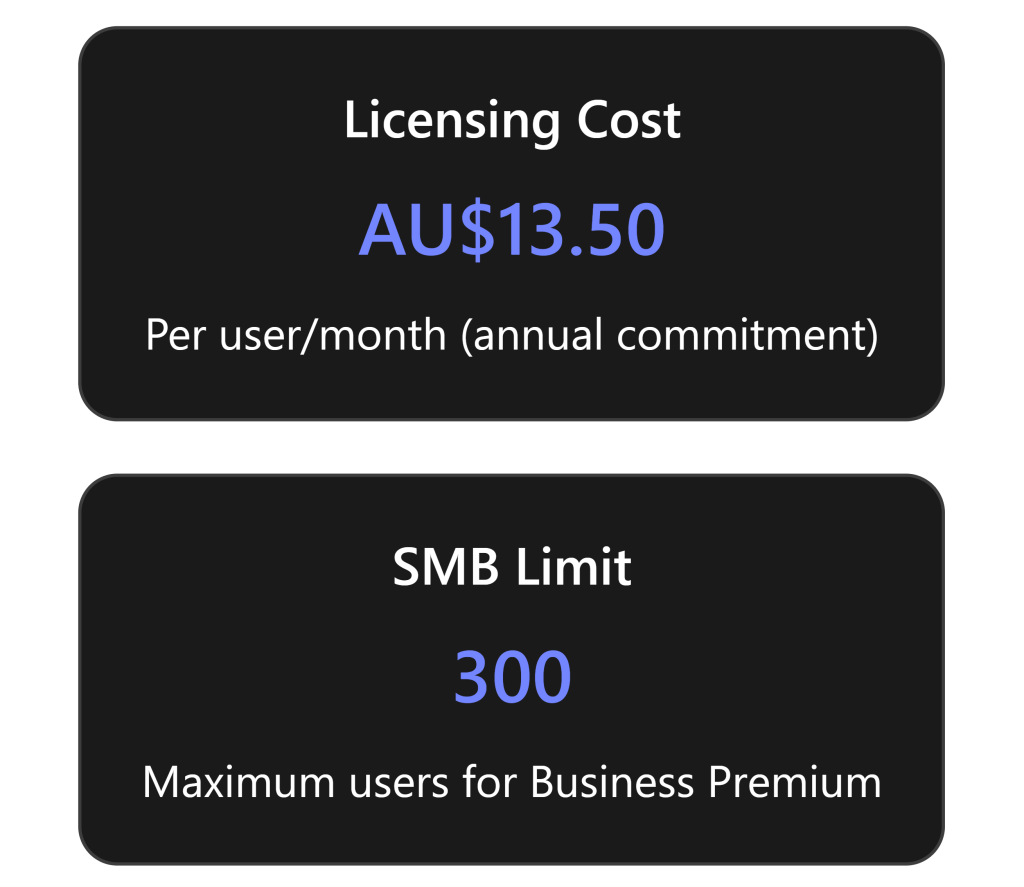
- AU$13.50 per user per month adds AU$162 annually per user [2]
- For 20 users: AU$3,240/year additional cost
- For 50 users: AU$8,100/year additional cost
Complexity Overhead: [4]
- Requires understanding of multiple stakeholder roles
- Complex initial setup and ongoing maintenance
- Training requirements for reviewers
- Requires understanding of multiple stakeholder roles
Limited Applicability:
- Most SMBs have simple, stable access patterns
- Manual quarterly reviews often sufficient for small teams
- Limited integration with SMB-focused applications
- Most SMBs have simple, stable access patterns
Licensing Confusion:
Entitlement Management: Overkill for Most SMBs?
What Is Entitlement Management?
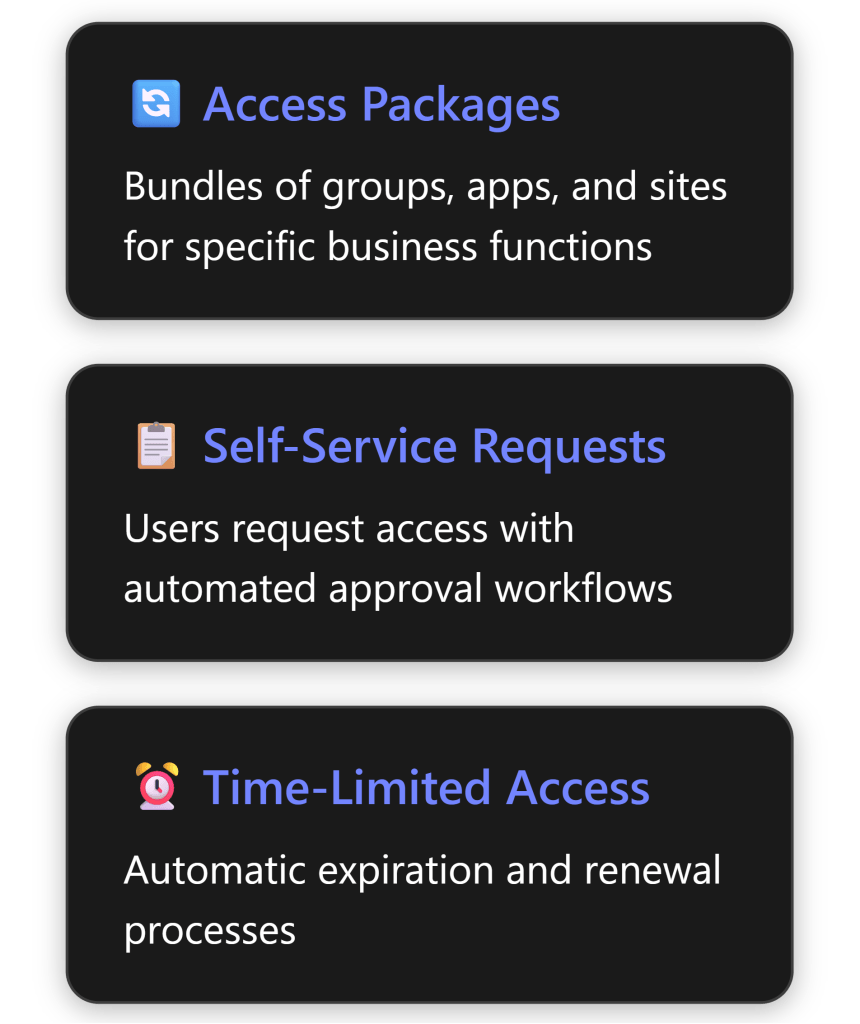
Entitlement management enables organisations to manage identity and access lifecycle at scale through access packages – bundles of resources users need for specific roles or projects. [9]
The SMB Verdict on Entitlement Management
Entitlement management is almost certainly overkill for SMBs under 100 users. Here’s why: [9]
Designed for Scale: The feature addresses problems that emerge at enterprise scale – hundreds or thousands of users across multiple departments
Overhead vs Value:
- Requires significant upfront design and configuration
- Ongoing maintenance of access packages
- Complex approval chains unnecessary in flat SMB structures
- Requires significant upfront design and configuration
Simpler Alternatives Work:
- Direct group assignments sufficient for most SMBs
- SharePoint/Teams permissions handle project-based access
- Manual onboarding/offboarding manageable at small scale
- Direct group assignments sufficient for most SMBs
Real-World SMB Scenarios:
- 10-20 employees: Owner knows everyone; manual management works fine
- 20-50 employees: Simple group-based access with quarterly manual reviews
- 50-100 employees: Consider basic automation but full entitlement management rarely justified
- 10-20 employees: Owner knows everyone; manual management works fine
Pricing Analysis for Australian SMBs
Cost Breakdown
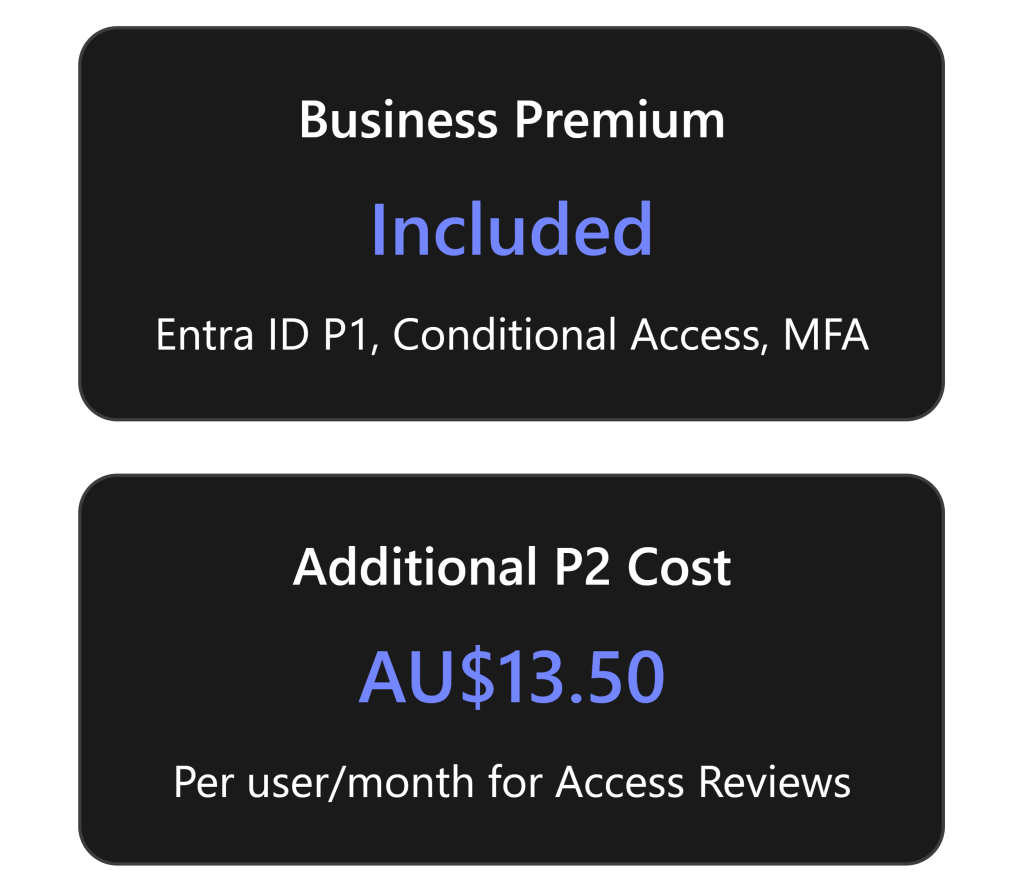
Microsoft 365 Business Premium (approximately AU$39.60/user/month) includes: [10]
- Entra ID P1 (formerly Azure AD Premium P1)
- Conditional Access
- Multi-factor authentication
- Self-service password reset
- Basic identity protection
To get Access Reviews, you need Entra ID P2 at AU$13.50/user/month additional, which includes: [2]
- Everything in P1
- Access Reviews
- Privileged Identity Management (PIM)
- Identity Protection with risk-based policies
- Entitlement management
Total Cost Comparison (Annual, excluding GST)
| Users | Business Premium Only | Business Premium + P2 | Additional Cost |
|---|---|---|---|
| 10 | AU$4,752 | AU$6,372 | AU$1,620 |
| 20 | AU$9,504 | AU$12,744 | AU$3,240 |
| 50 | AU$23,760 | AU$31,860 | AU$8,100 |
| 100 | AU$47,520 | AU$63,720 | AU$16,200 |
Note: Prices shown do not include GST. Add 10% for GST-inclusive pricing.
Practical Recommendations for SMBs
When Access Reviews Make Sense
Alternative Approaches for Most SMBs
Instead of Access Reviews, consider these more practical approaches: [8]
Quarterly Manual Reviews:
- Export user lists from Microsoft 365 admin centre
- Review with department heads
- Document decisions in SharePoint/Excel
- Cost: Staff time only
- Export user lists from Microsoft 365 admin centre
Leverage Business Premium Features:
- Use Conditional Access for location/device-based controls
- Implement MFA for all users
- Configure automatic account disabling for inactive users
- Monitor sign-in logs regularly
- Use Conditional Access for location/device-based controls
Simple Governance Process:
- Standardise onboarding/offboarding checklists
- Use Microsoft Forms for access requests
- Power Automate for basic approval workflows
- Regular security awareness training
- Standardise onboarding/offboarding checklists
Focus on Fundamentals:
- Strong password policies
- Least privilege principle
- Regular security updates
- Data loss prevention policies
- Email security (already included in Business Premium)
- Strong password policies
The Bottom Line for Australian SMBs
Key Takeaways
Access Reviews and entitlement management are powerful enterprise features that rarely justify their cost and complexity for SMBs under 100 users. The additional AU$13.50 per user per month represents a 34% increase over Microsoft 365 Business Premium pricing, which already includes substantial security features.

Final Verdict
For the vast majority of Australian SMBs, Entra ID P2 Access Reviews represent an expensive solution to problems they don’t actually have. The features are well-designed and powerful, but they address enterprise-scale challenges around distributed governance, compliance automation, and managing thousands of access relationships.
Small businesses are better served by:
- Maximising the value from Microsoft 365 Business Premium’s included features
- Implementing simple, documented manual review processes
- Focusing security investments on user training and basic controls
- Considering P2 only when specific compliance requirements demand it
The money saved by avoiding unnecessary P2 licensing could be better invested in security awareness training, backup solutions, or managed security services that provide more tangible benefits for small business risk profiles.
References
[1] What are access reviews? – Microsoft Entra – Microsoft Entra ID Governance | Microsoft Learn
[2] Microsoft Entra Plans and Pricing | Microsoft Security
[3] Create an access review of groups and applications – Microsoft Entra ID Governance | Microsoft Learn
[5] Who needs P2 license for Access Reviews? Creator? Reviewer? Reviewees? – Microsoft Q&A
[6] Plan a Microsoft Entra access reviews deployment – Microsoft Entra ID Governance | Microsoft Learn
[7] Microsoft 365 Business Premium Licensing question – Microsoft Q&A
[8] Securing Microsoft 365 Copilot in a Small Business Environment
[9] What is entitlement management? – Microsoft Entra ID Governance | Microsoft Learn
[10] Modern-Work-Plan-Comparison-SMB


